23 RStudio Tips, Tricks, and Shortcuts
RStudio is an open-source tool for programming in R. If you are interested in programming with R, it’s worth knowing about the capabilities of RStudio. It is a flexible tool that helps you create readable analyses, and keeps your code, images, comments, and plots together in one place.
In this blog post, we’ll cover some of the best features from the free version of RStudio: RStudio Desktop. We’ve collected some of the top RStudio tips, tricks, and shortcuts to quickly turn you into an RStudio power user!
1. Navigate Quickly Between Window Panes
RStudio window panes keep important information about your project accessible. Knowing how to toggle between panes without touching your mouse to move your cursor will save time and improve your workflow. Use these shortcuts to instantly move between panes:
Control/Ctrl + 1: Source editor (your script)Control/Ctrl + 2: ConsoleControl/Ctrl + 3: HelpControl/Ctrl + 4: HistoryControl/Ctrl + 5: FilesControl/Ctrl + 6: PlotsControl/Ctrl + 7: PackagesControl/Ctrl + 8: EnvironmentControl/Ctrl + 9: Viewer
If you prefer to only have one pane in view at a time, add Shift to any of the above commands to maximize the pane. For example, enter Control/Ctrl + Shift + 1 to maximize the R script, notebook, or R Markdown file you are working in.
(Side note: The + we show in the shortcuts means “and”, so there’s no need to actually type the + key.)
But what if you want to return to the standard four-pane view? No problem! Enter Control/Ctrl + Shift + 0:
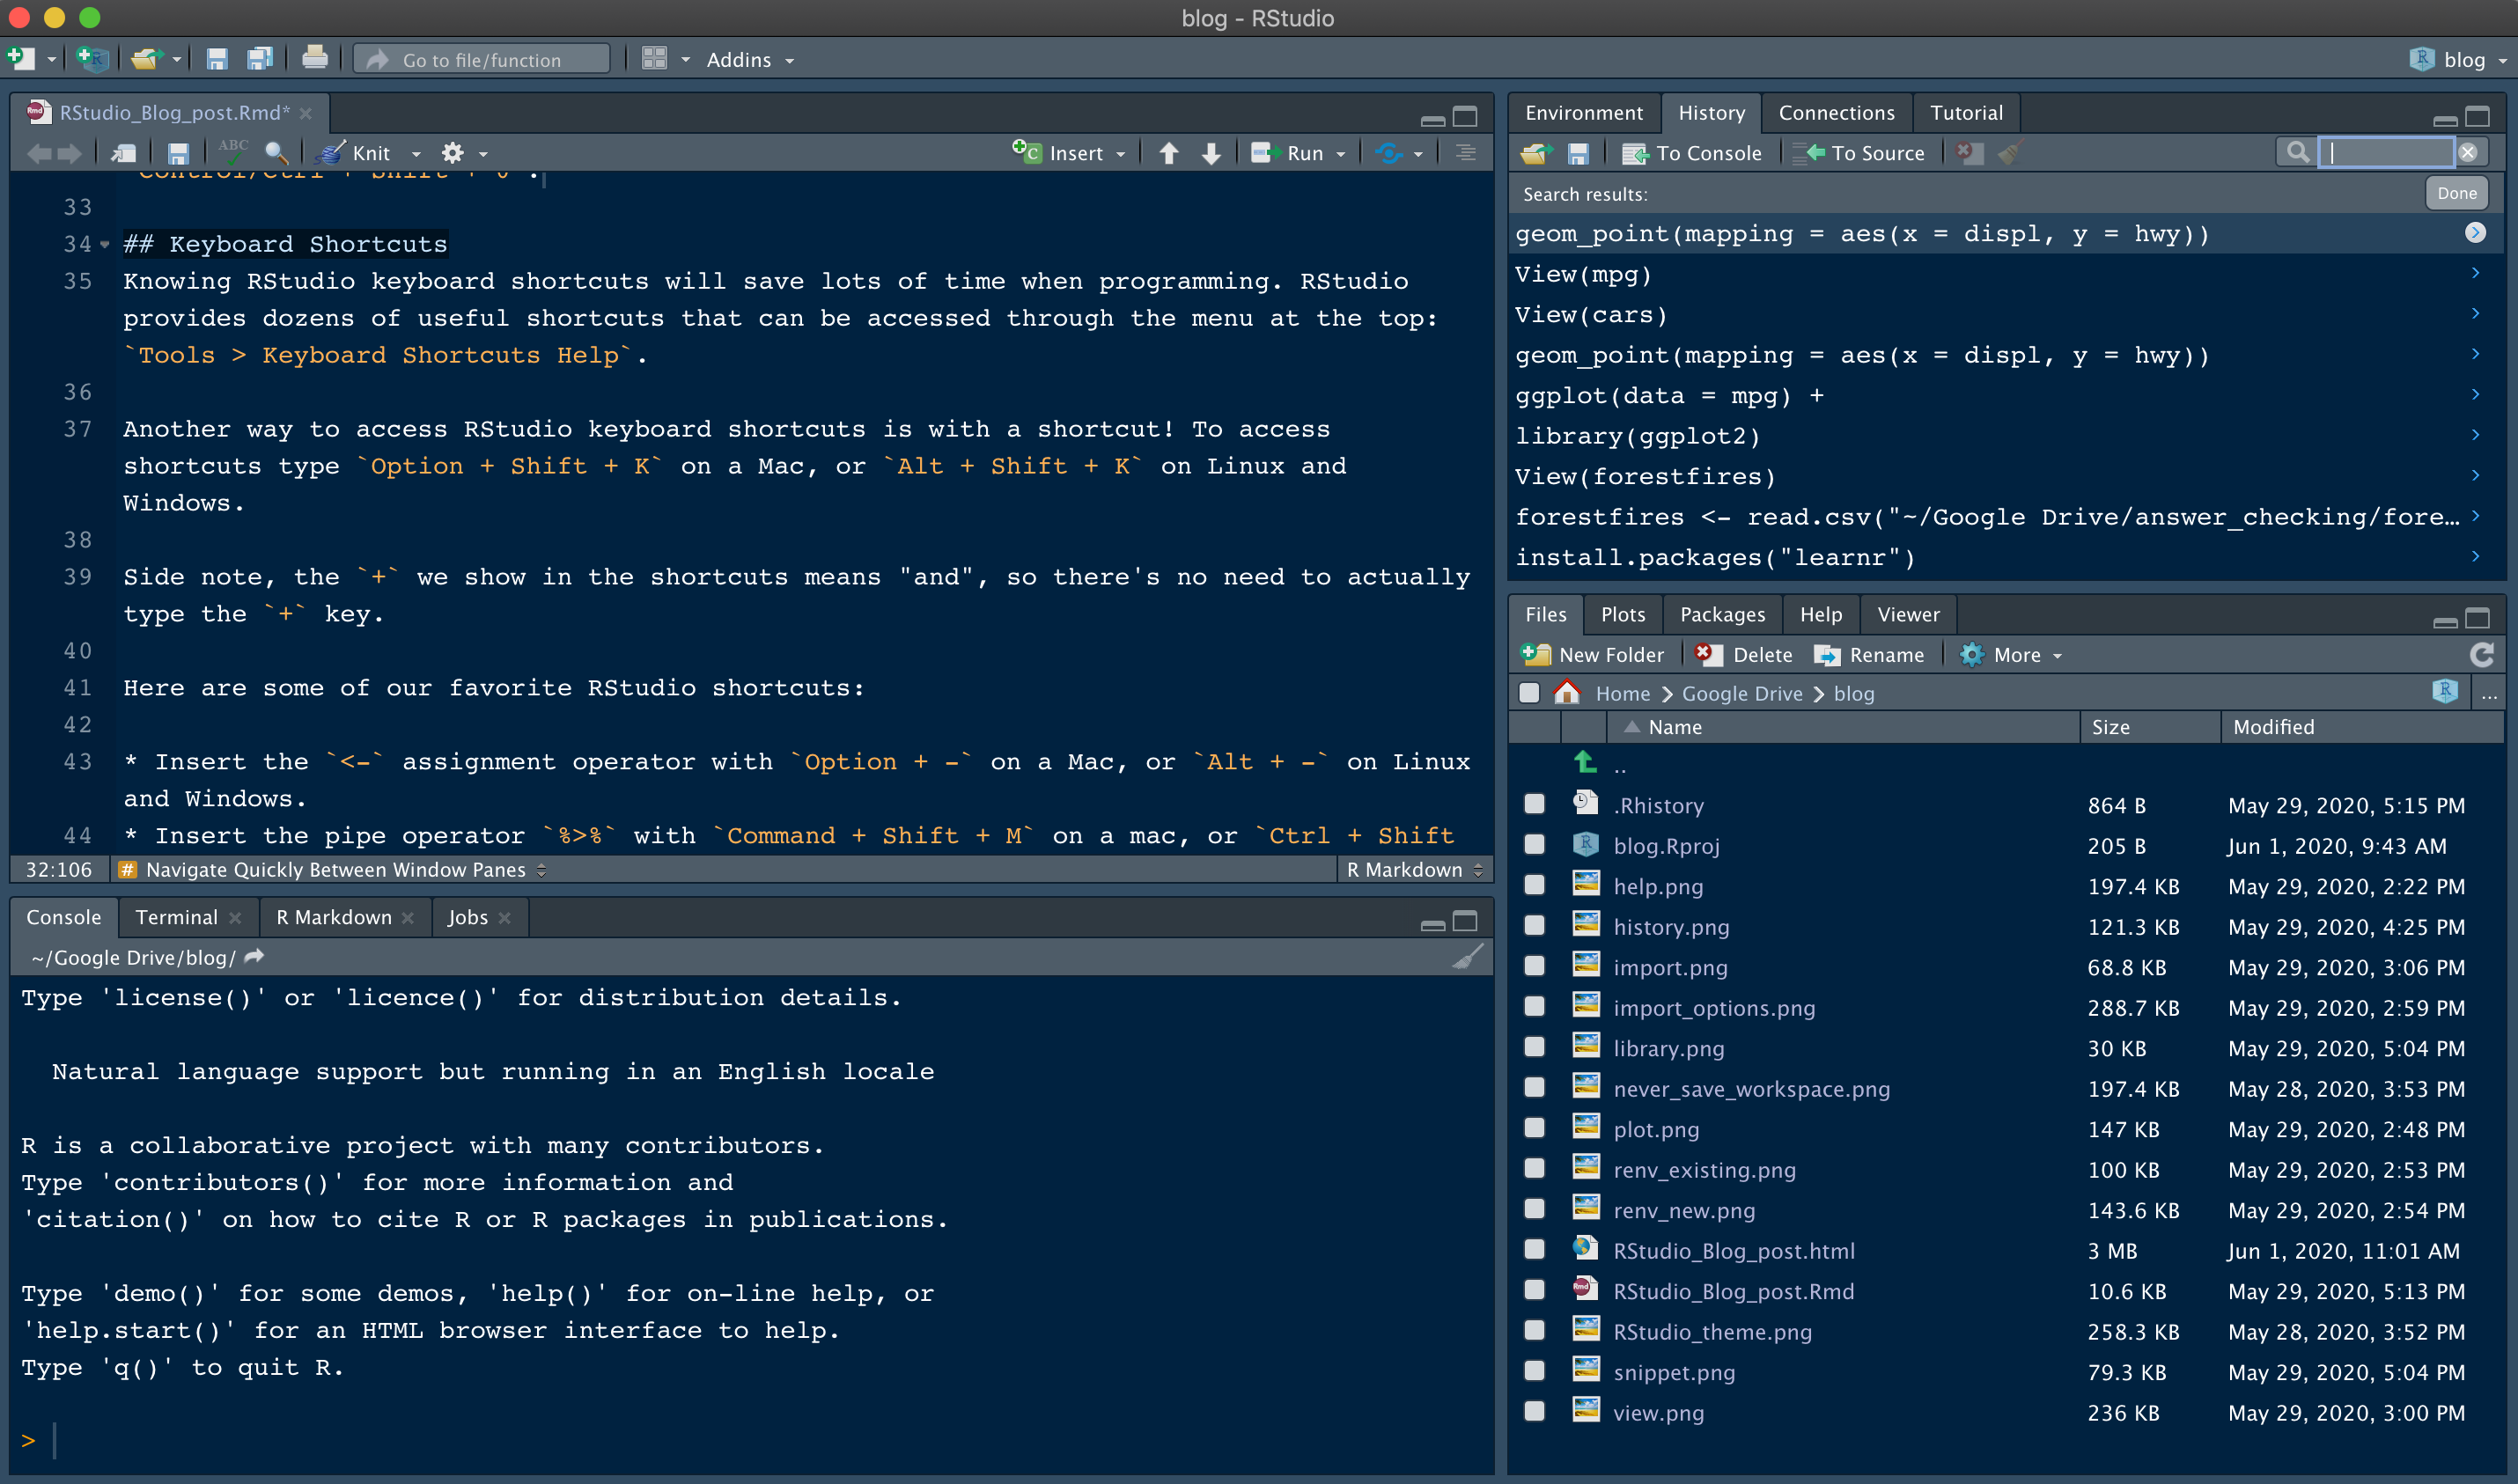
2. Keyboard Shortcuts
Knowing RStudio keyboard shortcuts will save lots of time when programming. RStudio provides dozens of useful shortcuts that you can access through the menu at the top: Tools > Keyboard Shortcuts Help.
Another way to access RStudio keyboard shortcuts is with a shortcut! To access shortcuts, type Option + Shift + K on a Mac, or Alt + Shift + K on Linux and Windows.
Here are some of our favorite RStudio shortcuts:
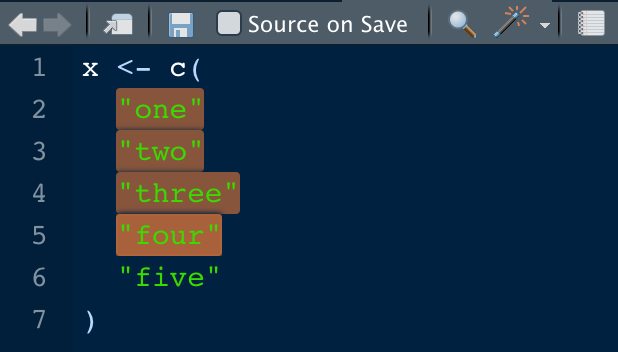
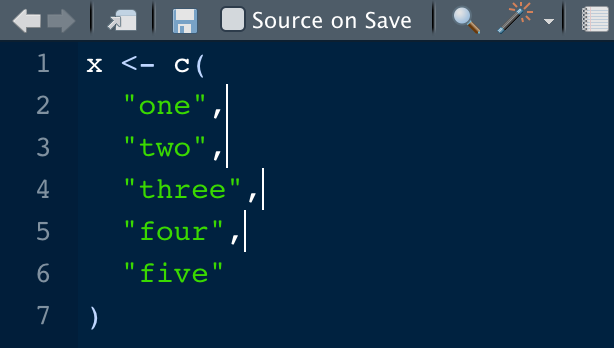
- Insert the <- assignment operator with
Option + -on a Mac, orAlt + -on Linux and Windows. - Insert the pipe operator
%>%withCommand + Shift + Mon a Mac, orCtrl + Shift + Mon Linux and Windows. - Run the current line of code with
Command + Enteron a Mac orControl + Enteron Linux and Windows. - Run all lines of code with
Command + A + Enteron a Mac orControl + A + Enteron Linux and Windows. - Restart the current R session and start fresh with
Command + Shift + F10on a Mac orControl + Shift + F10on Linux and Windows. - Comment or uncomment lines with
Command + Shift + Con a Mac orControl + Shift + Con Linux and Windows. - Trying to remember a command you submitted earlier? Search the command history from the Console with
Command + [up arrow]on a Mac orControl + [up arrow]on Linux and Windows.
There are many more useful shortcuts available, but by mastering the shortcuts above, you’ll be on your way to becoming an RStudio power user!
Another great resource for RStudio shortcuts is the official RStudio cheat sheet available here.
3. Save Time with Code Completion
After you begin typing, a suggestion window will pop up with matching names of functions, objects, and snippets. You can toggle through the list using the up or down arrows and hit return/Enter to make your selection.
Alternatively, you can utilize a very cool feature called fuzzy matching, which allows you to narrow your search options by entering letters unique to the item you are matching. You do not need to enter all of the letters as long as your entry matches the order of the string.
Let’s take a look at how these code completion methods work. First, we’ll select the installed.packages() function by typing part of the function name, and then use arrows to make the selection. Next, we’ll use fuzzy matching to only enter instd to narrow our selection further:
4. Quickly Find Files and Functions
In RStudio there’s no need to fumble through your folder structure to find files, and there’s no need to dig for functions! Enter the shortcut control/ctrl + . to open the Go to File/Function window and then use your fuzzy matching skills to narrow your selection:
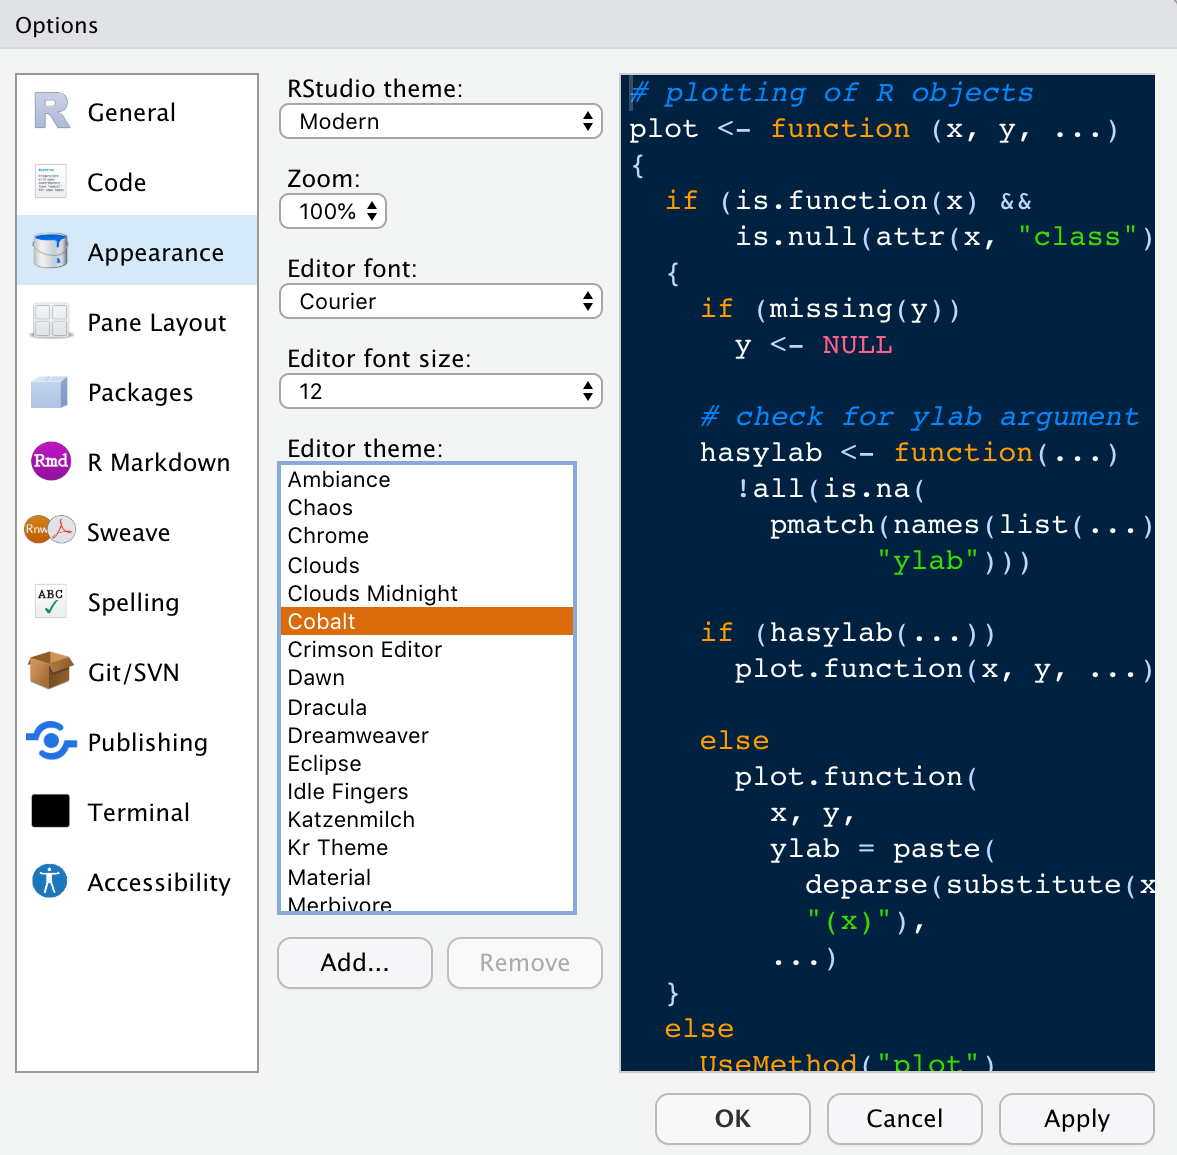
5. Customize the Appearance
RStudio offers a wealth of options to customize the appearance to your liking. Under the RStudio tab, navigate to Preferences > Appearance to explore the many options available. A nice feature of RStudio is that you can quickly click through the Editor theme window to preview each theme.
6. Easy Links to Documentation
Under the Help tab in the lower-right window, you’ll find handy links to the online documentation for R functions and R packages. For example, if we search for information about the install.packages() function using the search bar, the official documentation is returned:
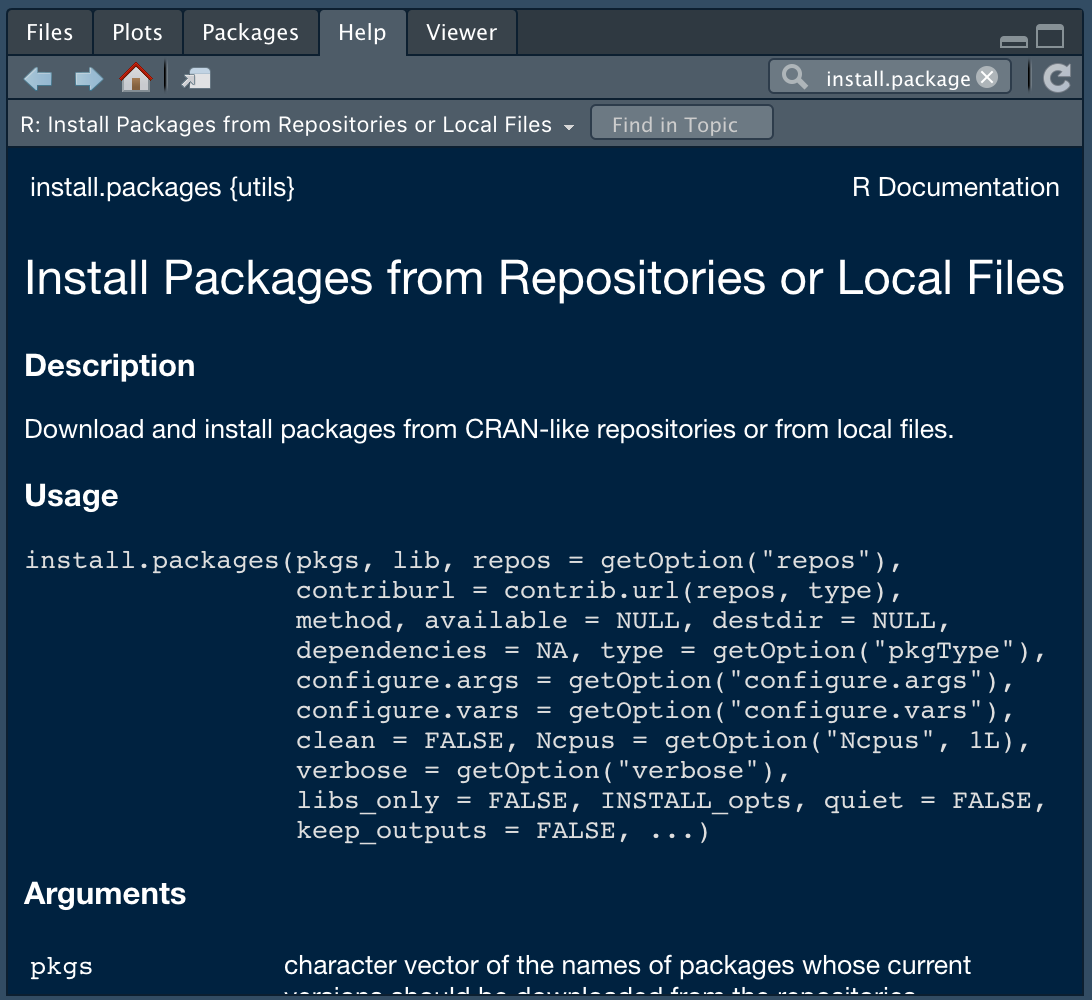
We can also access documentation in the Help tab by prepending a package or function with ?, (e.g. ?install.packages) and running the command into the Console. With either approach, RStudio auto-fills matching function names as you type!
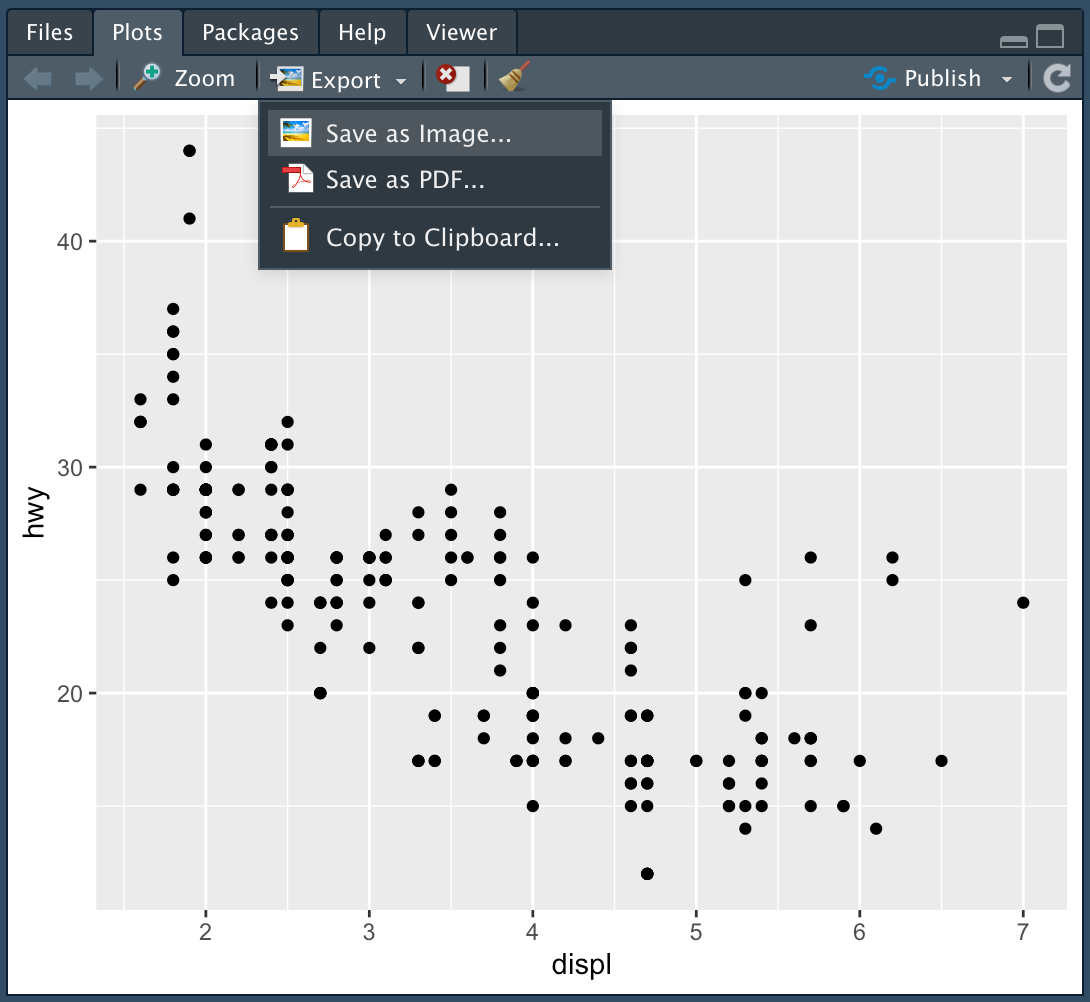
7. Preview and Save Your Plots
Plots generated during an RStudio session are displayed under the Plots tab in the lower-right window. In this window, you can inspect your plots by zooming in and out. If you want to save your plot, you can save the plot as a PDF or image file.
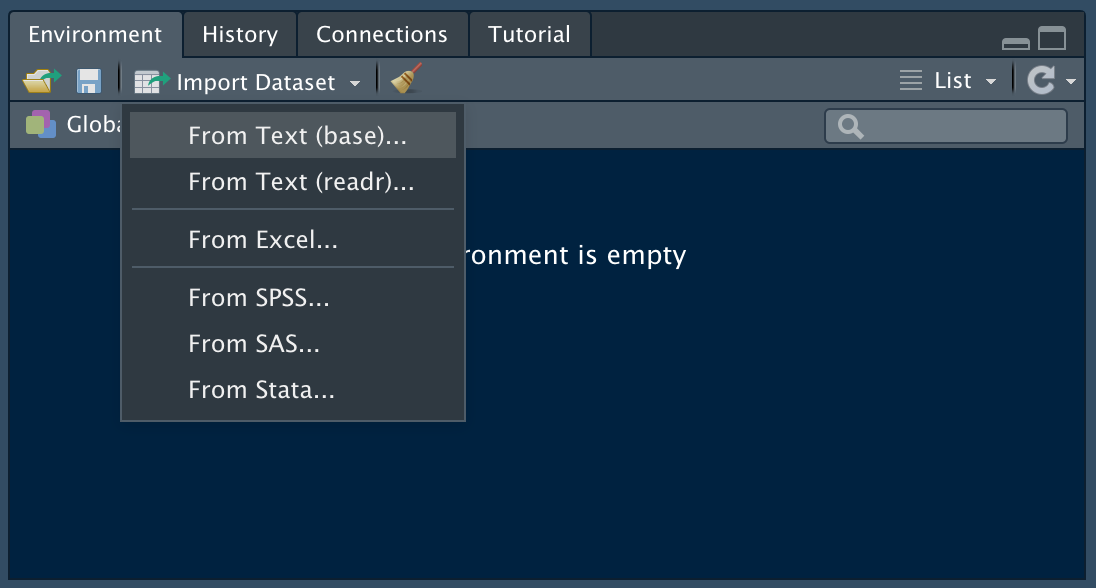
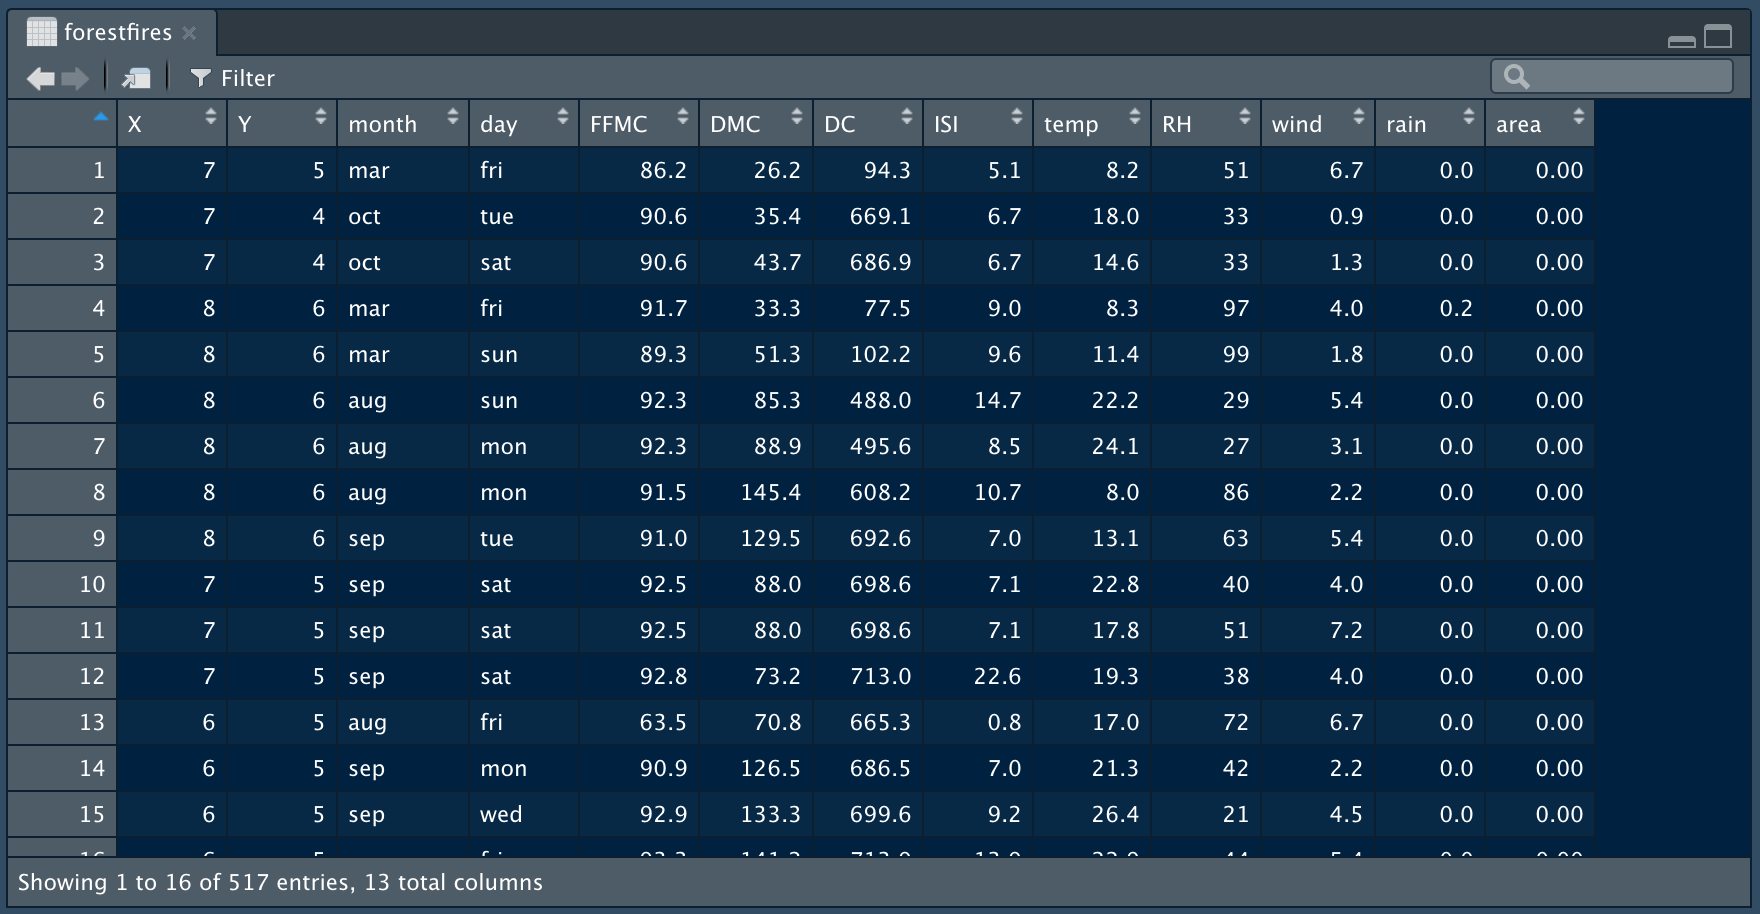
8. Import and Preview Datasets
RStudio makes it easy to import and preview datasets, no coding required! Under the Environment tab in the upper-right window, there is feature that enables you to import a dataset. This feature supports a variety of formats:
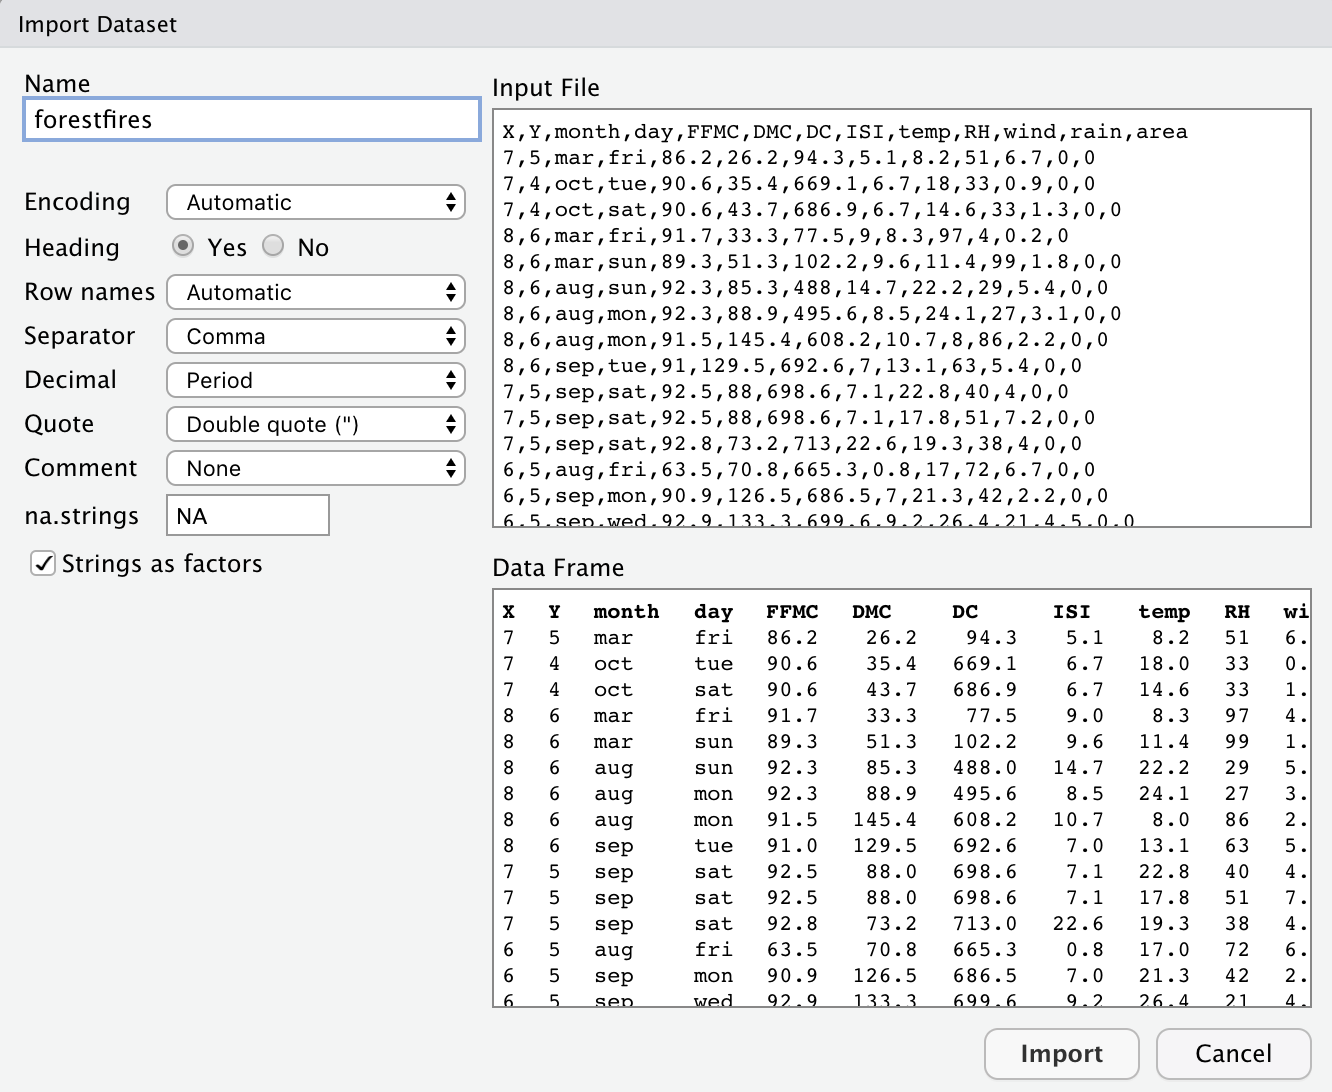
You can even preview the dataset before it is loaded:
And after the dataset is loaded into RStudio, you can view it with the View() command, or by clicking the name of the dataset:
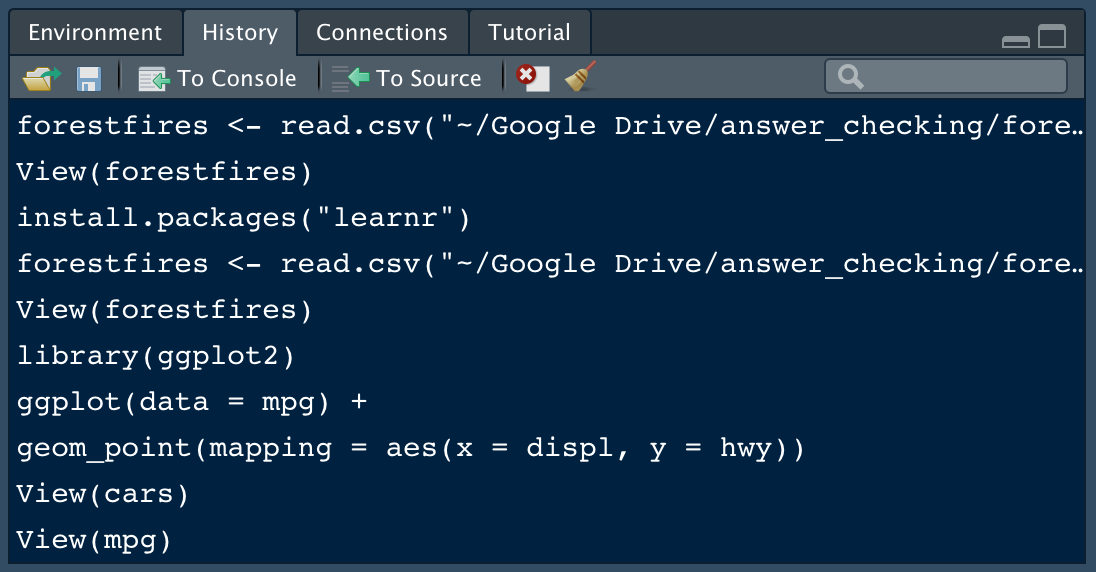
9. Review the Command History with One Click
Earlier, we learned the shortcut to the command history from the console. RStudio also enables you to view your entire command history in the upper-right window by clicking the History tab:
10. Save Your “Real” Work. Delete the Rest.
Practice good housekeeping to avoid unforeseen challenges down the road. If you create an R object worth saving, capture the R code that generated the object in an R script file. Save the R script, but don’t save the environment, or workspace, where the object was created.
To prevent RStudio from saving your workspace, open Preferences > General and un-select the option to restore .RData into workspace at startup. Be sure to specify that you never want to save your workspace, like this:
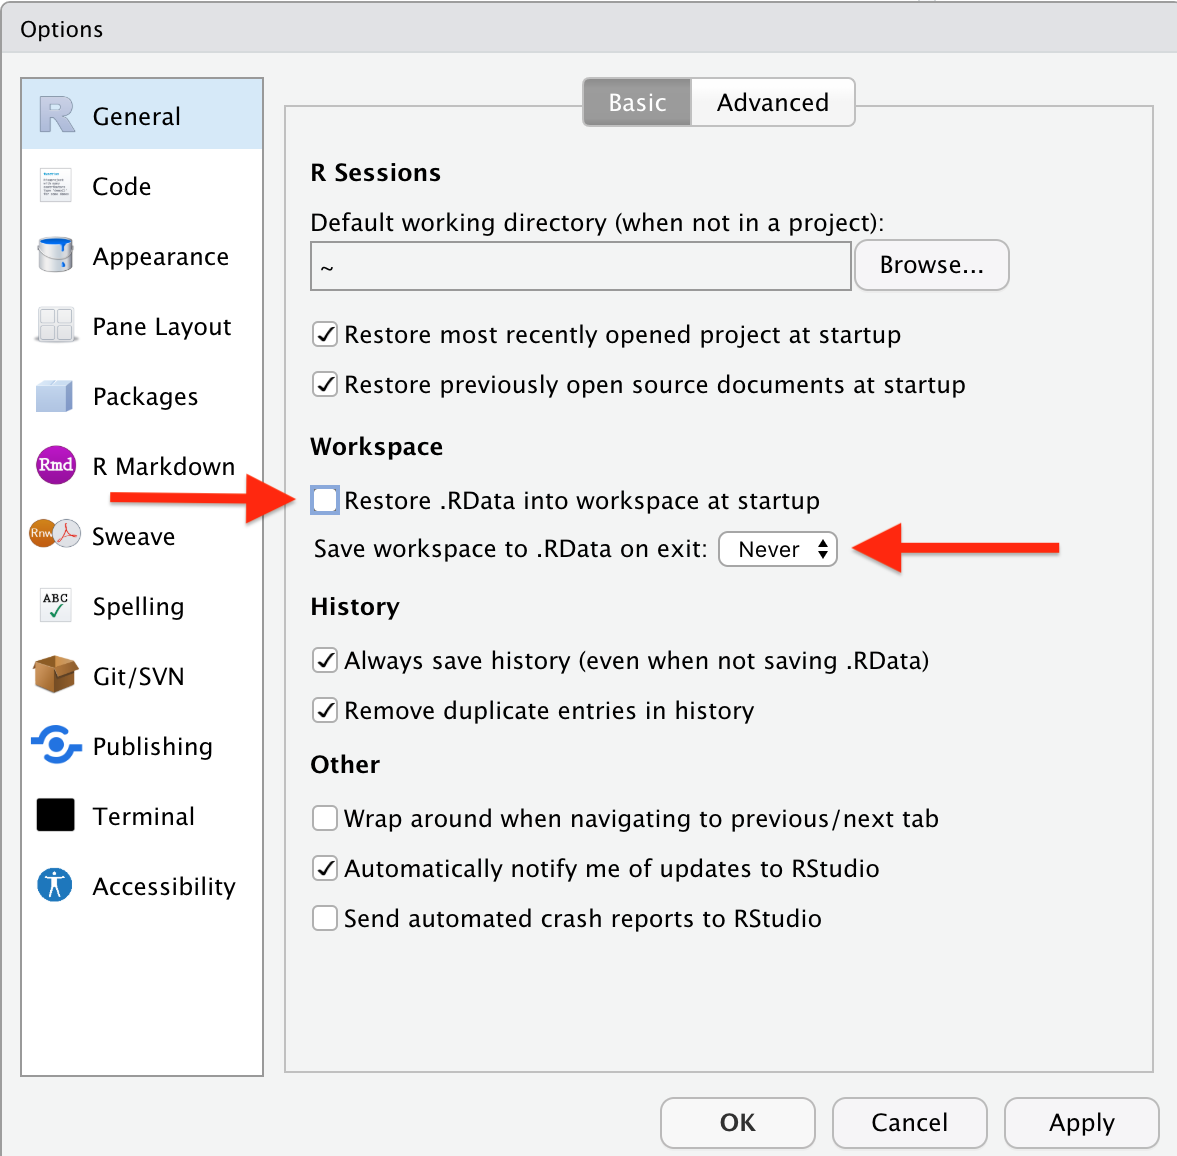
Now, each time you open RStudio, you will begin with an empty session. None of the code generated from your previous sessions will be remembered. The R script and datasets can be used to recreate the environment from scratch.
11. Organize Your Work with Projects
RStudio offers a powerful feature to keep you organized; Projects. It is important to stay organized when you work on multiple analyses. Projects from RStudio allow you to keep all of your important work in one place, including code scripts, plots, figures, results, and datasets.
Create a new project by navigating to the File tab in RStudio and select New Project.... You have the option to create your new project in a new directory, or an existing directory. RStudio offers dedicated project types if you are working on an R package, or a Shiny Web Application.
RStudio Projects are useful when you need to share your work with colleagues. You can send your project file (ending in .Rproj) along with all supporting files, which will make it easier for your colleagues to recreate the working environment and reproduce the results.
But if you want seamless collaboration, you may need to introduce package management into your workflow. Fortunately, RStudio offers a useful tool for package management, renv, that is now compatible with RStudio projects. We’ll cover renv next.
12. Manage Package Versions with renv
We love R at Dataquest, but managing and installing packages can be a challenge! Fortunately, R package management is easier than ever, thanks to the renv (“reproducible environment”) package from RStudio. And now, RStudio includes built-in support for renv.
We won’t get into the details of how to use renv with RStudio projects in this blog because RStudio provides you with the info you need in the link we provided and in the vignette. But using renv with RStudio can make R package management much easier, so we wanted to let you know!
The renv package is replacing the Packrat package that RStudio used to maintain.
To use the renv package with your RStudio projects upgrade to the latest version of RStudio and then install the renv package with library("renv"). From there you will have the option to use renv with all new projects:
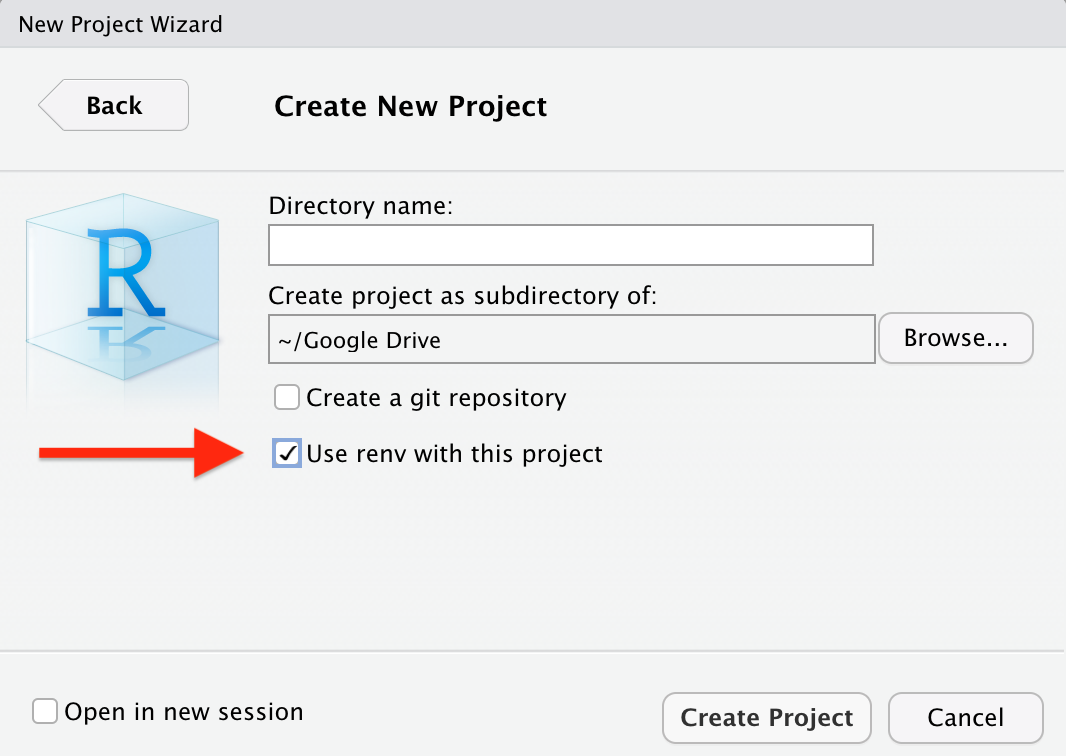
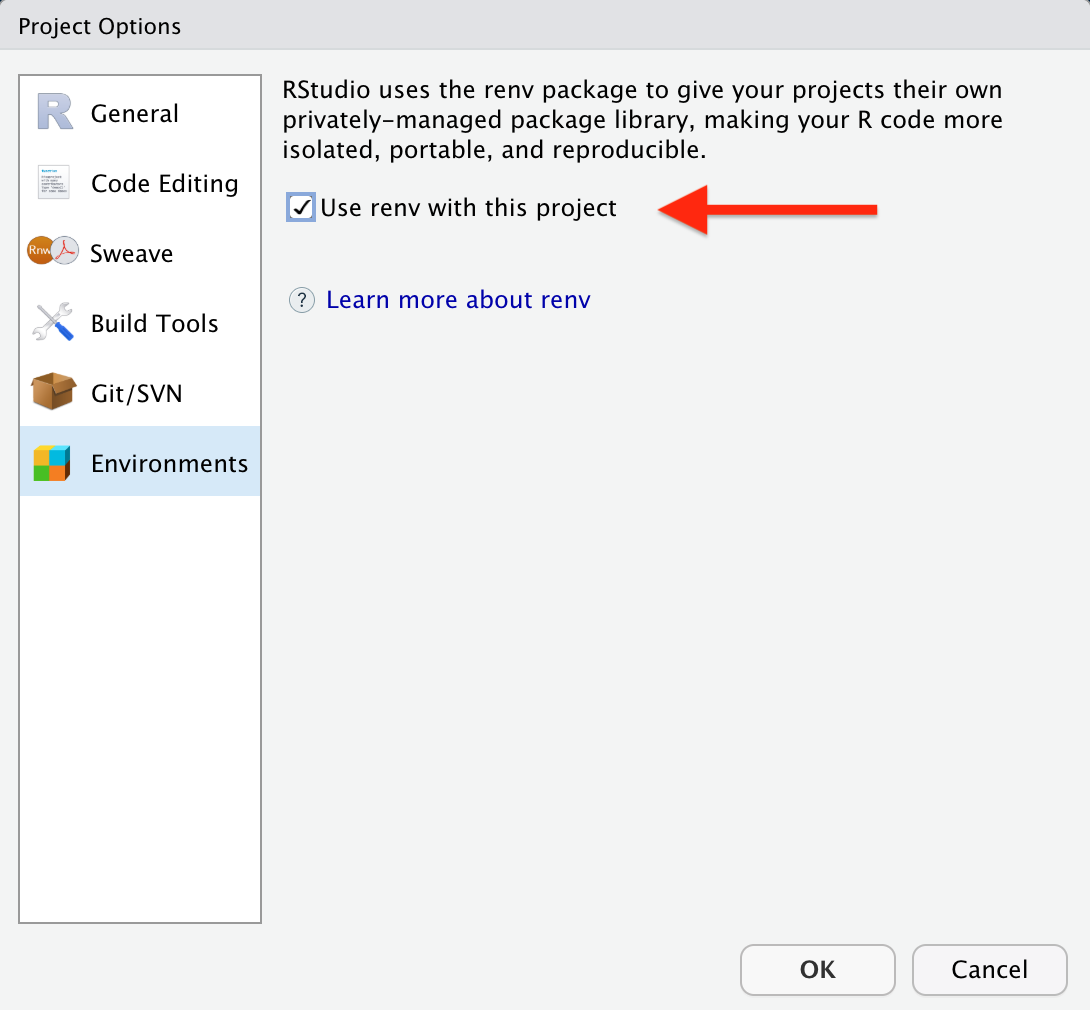
If you would like to use renv with an existing project navigate to Tools > Project Options > Environments and check the box to enable renv:
13. Manage Version Control with GitHub in RStudio
In addition to managing packages in RStudio, you can also use GitHub with RStudio to maintain version control of your projects and R scripts. Check out this article from GitHub and this article from RStudio for all the information you need to integrate Git into your RStudio workflow.
14. Code Snippets
RStudio offers a very useful feature for inserting common chunks of code, called code snippets. One of our favorites is the lib snippet that saves you a bit of typing when calling the library() function to load an R package:
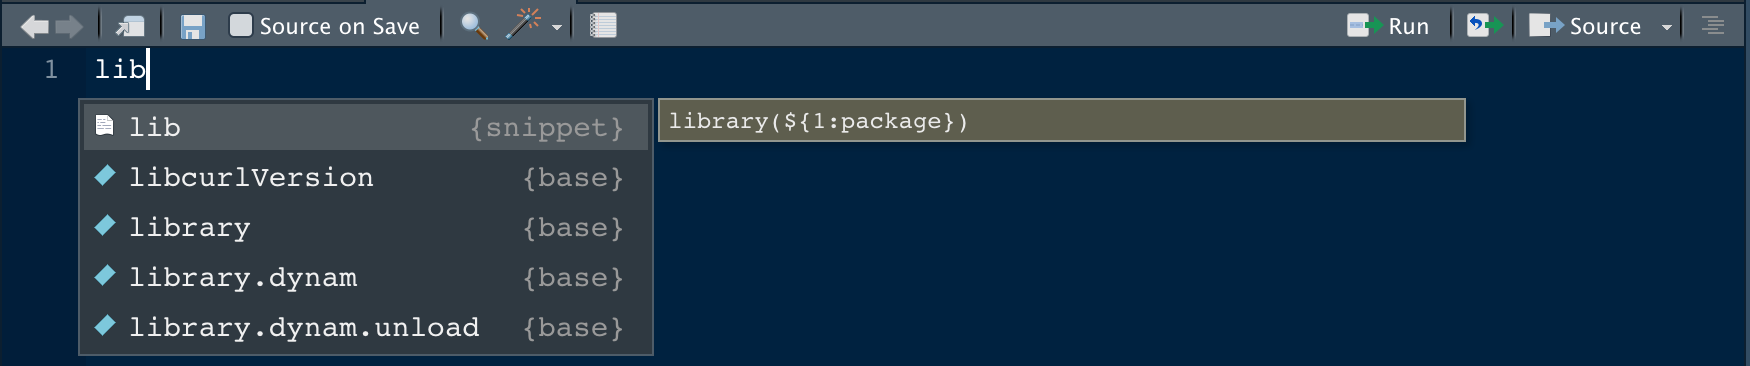
After you hit return to select the snippet, the library() function is loaded and the cursor is positioned so you can immediately begin typing the name of the package you want to load:

Our other favorite is the fun snippet that provides a basic template for writing a custom function. And you can even add snippets of your own! To learn more, check out this article on code snippets from RStudio.
15. Dig Into the Source Code of a Function
If you’d like to investigate the source code of a function, move your cursor to the function of interest and enter F2 (on a Mac you may need to enter fn + F2). This feature even works for functions loaded from any R packages you use.
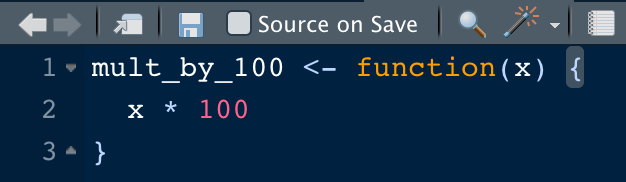
16. Function Extraction
If you’ve written a chunk of code that you want to turn into a function, highlight the code chunk and enter control + option X on a Mac, Ctrl + Alt + X on Linux/Windows. A pop-up will appear that will ask you to select a function name.

After the function name is selected, the inputs and code structure needed to turn your code into a function will be added automatically.
If you have a variable that you would like to extract, highlight the variable and enter control + option V on a Mac, Ctrl + Alt + V on Linux/Windows.
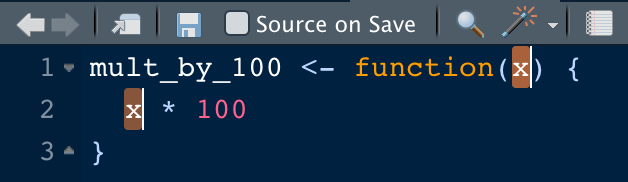
17. Rename in Scope
At some point, you may need to change the name of a function or a variable used in one of your functions. But using find and replace to do this can be nerve-wracking! Fortunately, RStudio makes it possible to rename in scope. This means your changes will be limited to the variable or function of interest. This will prevent you from accidentally replacing a variable of the same name elsewhere in your code script. To use this feature select the function or variable you want to change and enter control + shift + option + M on a Mac, or Ctrl + Shift + Alt + M on Linux/Windows.
18. Multicursor Support
RStudio supports multiple cursors. Simply click and drag your mouse while holding down option on a Mac, or Alt on Windows/Linux.
19. Use Python with RStudio and reticulate
RStudio supports coding in python. The process to get python up and running within RStudio involves these general steps:
- Install a base version of Python
- Install
pipandvirtualenv - Create a Python environment in your RStudio project
- Activate your Python environment
- Install desired Python packages in your environment
- Install and configure the R
reticulatepackage to use Python
This article provides the code you’ll need for the steps above. We tried it out and were able to run python in RStudio in only a few minutes:
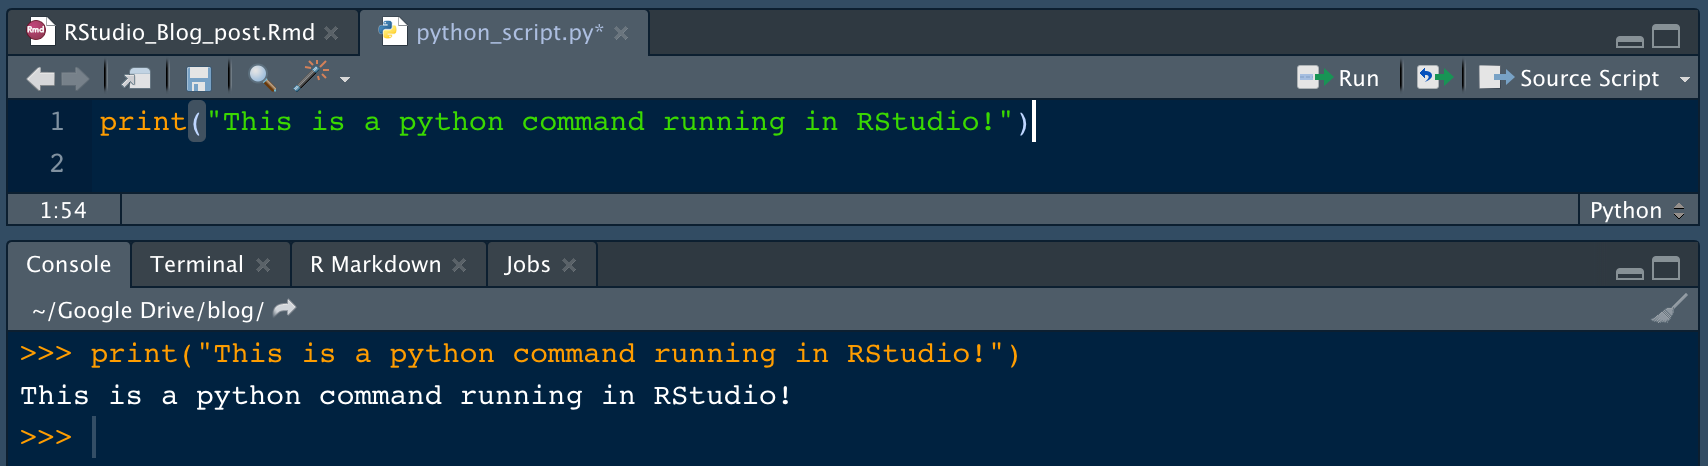
For full details, check out this RStudio tutorial.
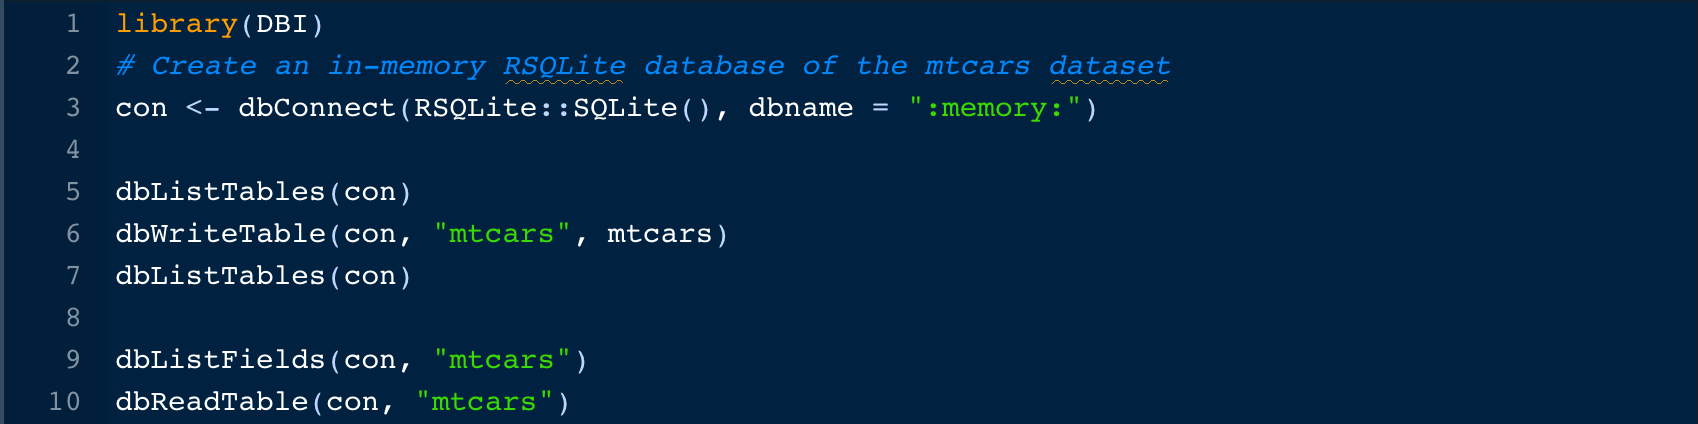
20. Query SQL Using the DBI Package
There are many ways to run SQL queries in RStudio. Here are three of the most popular methods, beginning with the DBI package from R.
You’ll start by generating an in-memory SQL database to use in all your SQL query examples. You’ll generate a SQL database of the well-known “mtcars” dataset. Here’s the code:
 Now write a SQL query to select all cars from the database with a four-cylinder engine. This command returns a dataframe that you’ll save as
 dbi_query:

The dataframe looks like this: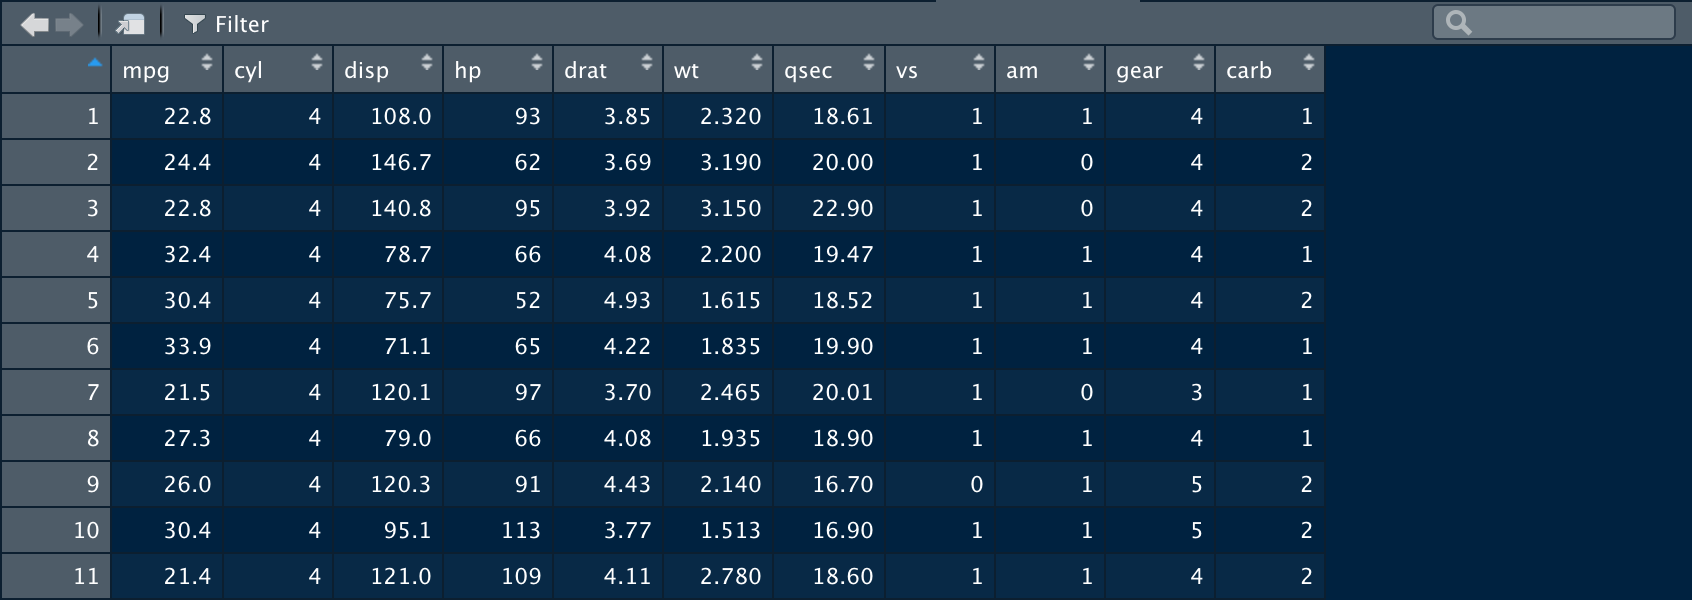
21. Query SQL in R Markdown or Using an R Notebook
You can achieve the same result in R Notebook or R Markdown by creating a {sql} code chunk. Using the connection and database from the first example, run this code:

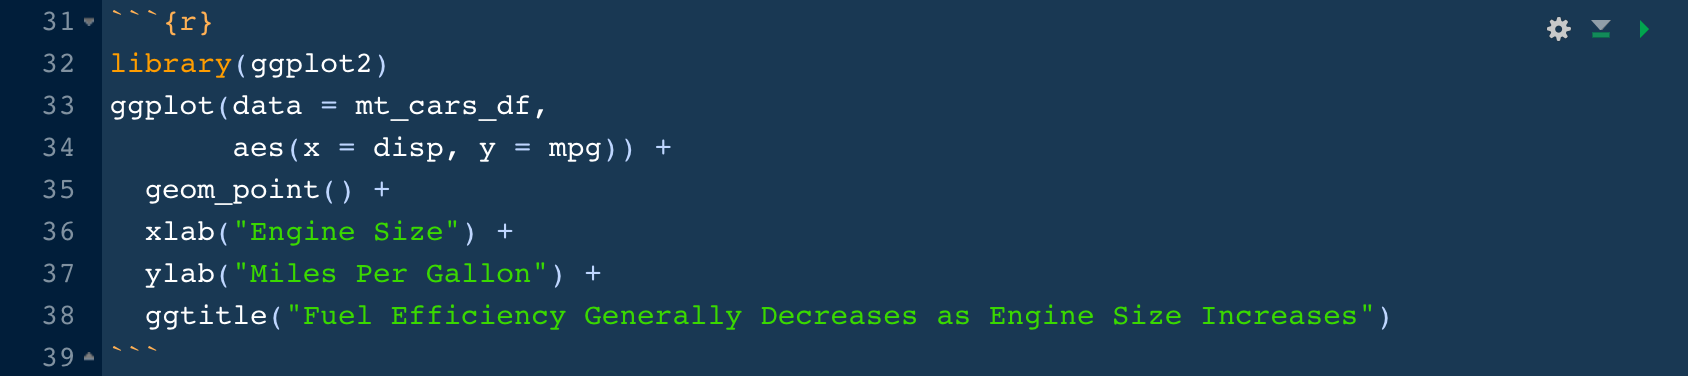
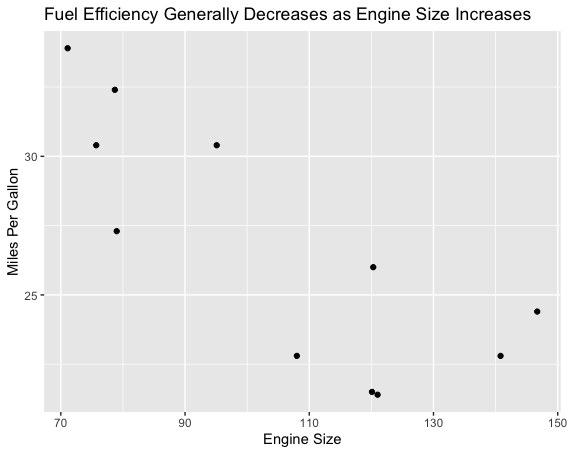
Specify output.var = "mt_cars_df" to save the results of your query to a dataframe. This dataframe is a standard R dataframe that is identical to the one you generated in the previous example. You can use this dataframe in R code chunks to perform analysis or to generate a ggplot, for example:
22. Query SQL with dbplyr
Finally, you’ll use the dbplyr package to write standard dplyr commands that get converted to SQL! Once again, using the connection and database from the first example, you can write a standard filter() call to query the cars with four cylinders, this returns a list object:

If you want to see the SQL code that this command was converted to, you can use the show_query() function from dbplyr:
 When you’re satisfied with your query results, you use the
 collect() function from dbplyr to save your results as a dataframe:

There you have it! Three different approaches to querying a SQL database with similar results. The only difference between the examples is that the dbplyr method returns a tibble, whereas the first two methods return a standard R dataframe.
To learn more about querying SQL databases with RStudio, check out this article.
23. Take it to the Cloud!
RStudio now offers a cloud-based version of RStudio Desktop called, you guessed it… RStudio Cloud. RStudio Cloud allows you to code in RStudio without installing software, you only need a web browser.
Work in RStudio Cloud is organized into projects similar to the desktop version, but RStudio Cloud enables you to specify the version of R you wish to use for each project.
RStudio Cloud also makes it easy and secure to share projects with colleagues, and ensures that the working environment is fully reproducible every time the project is accessed.
As you can see, the layout of RStudio Cloud is very similar to RStudio Desktop:
Bonus: Cheatsheets
RStudio has published numerous cheatsheets for working with R, including a detailed cheatsheet on using RStudio! Select cheatsheets can be accessed from within RStudio by selecting Help > Cheatsheets.
Additional Resources
RStudio has published numerous in-depth how to articles about using RStudio. Find them here.
To learn more about R Markdown, check out R Markdown Tips, Tricks, and Shortcuts