Azure SQL Database Tutorial for Beginners
Are you looking for a database solution that can handle large workloads and scale quickly? If so, Azure SQL Database may be the perfect option for you. Azure SQL Database is a cloud-based database service that provides all of the features of Microsoft SQL Server with added scalability and flexibility. Azure SQL Database is based on the latest stable version of Microsoft SQL Server Database Engine and provides a managed environment that simplifies provisioning, patching, upgrading, and monitoring. Azure SQL Databases can be deployed in multiple ways, depending on your application's requirements. In this article, we'll discuss how to get started with Azure SQL Database.
Benefits of Azure SQL Database
Azure SQL Database offers many benefits over traditional on-premises databases, including cost savings, increased flexibility, and scalability. Perhaps the most significant advantage of Azure SQL Database is its pay-as-you-go pricing model, which can help organizations save money on their database costs. Additionally, Azure SQL Database can be scaled up or down as needed, making it a more flexible solution than an on-premises database. Finally, Azure SQL Database is highly available and provides built-in disaster recovery capabilities, ensuring that your data is always safe and accessible.
Steps to Create Azure SQL Database
Creating an Azure SQL Database is a simple process that can be completed in just a few clicks. The first step is to navigate to the Azure portal and sign in with your Azure account credentials. Once you're signed in, you'll see the following page:

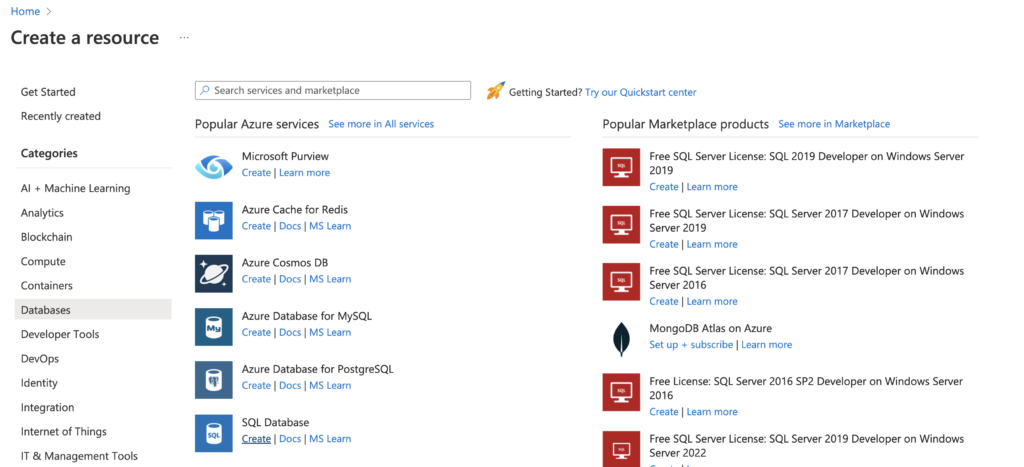
Click on the + Create new resource button, located on the left-hand side of the screen. This will open up the Create a resource blade. Under the Database pane, you can see SQL Database. Click on the Create button located below it.
This will open up the Create SQL Database blade, where you'll specify details about your database. First, you'll select the subscription that you want to use. After that, you'll need to choose the resource group that you want to deploy your database into. If you do not have a resource group, you can create one by clicking on the Create new link. In this tutorial, we have specified SQLResourceGroup as the name of resource group, but you'll have to specify a unique name for it.

The next step is to specify the name for your database. In this tutorial, we have specified SQLDB as the database name, but you'll have to specify a unique name for it.
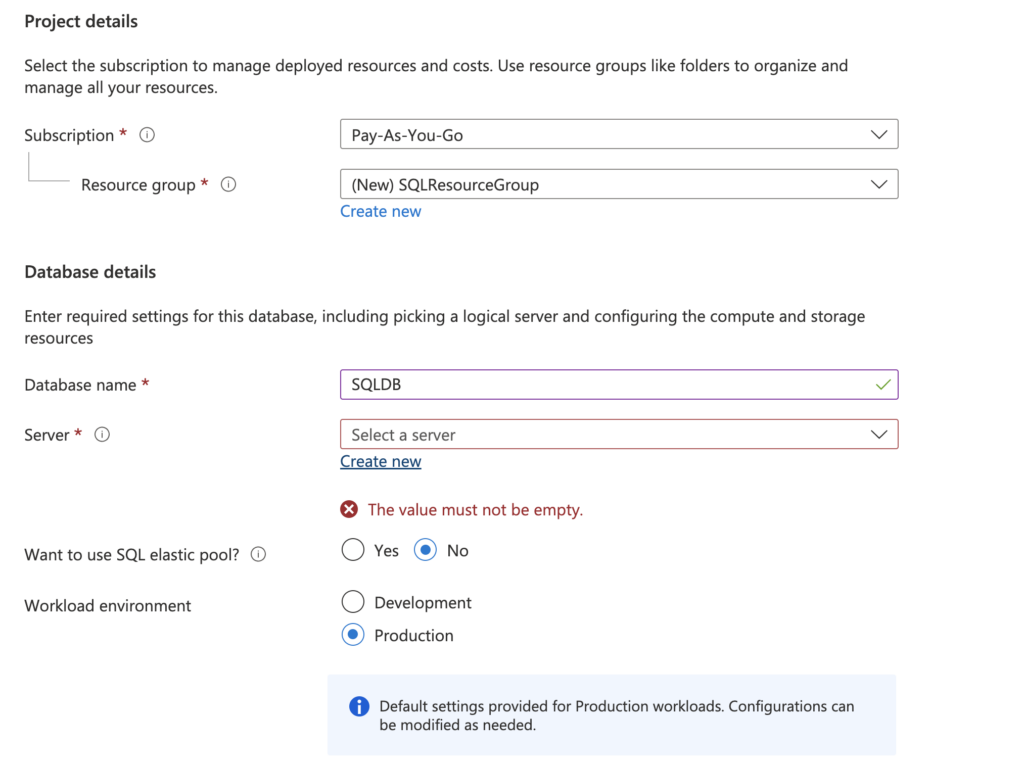
Once you've completed the above step, click on the Server drop-down menu and select the server that you want to deploy your database into. If you do not have a server, you can create one by clicking on the Create new link, which will open the following page. Fill in the details as follows:
-
Give a unique Server name and select the Location of your choice.
-
Under Authentication method, select Use SQL authentication option, and create unique Server admin login and Password configurations.

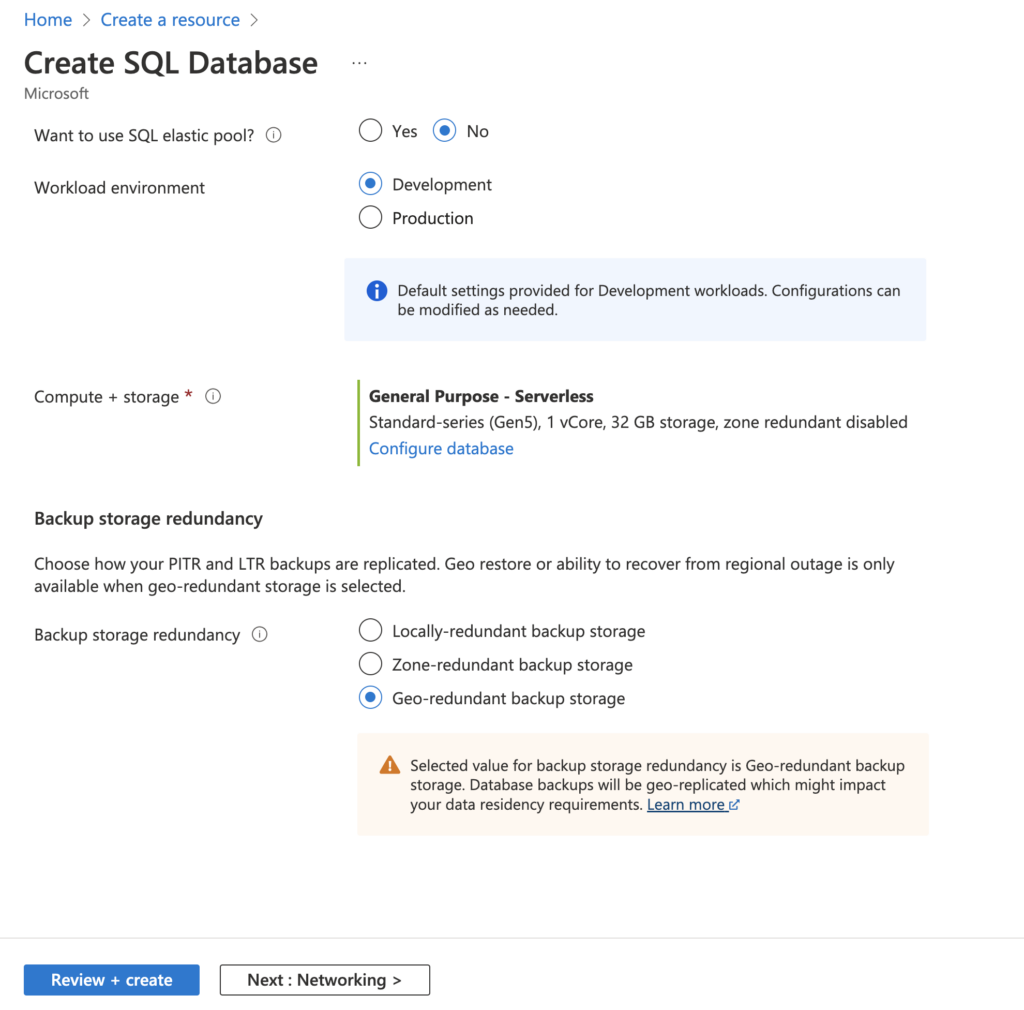
After filling in the details, click OK, which will bring you to the page shown below. Keep the default settings of No for Want to use SQL elastic pool, and Development for the Workload environment setting.

Complete the remaining fields for the Create SQL Database blade using the values shown in the image below.
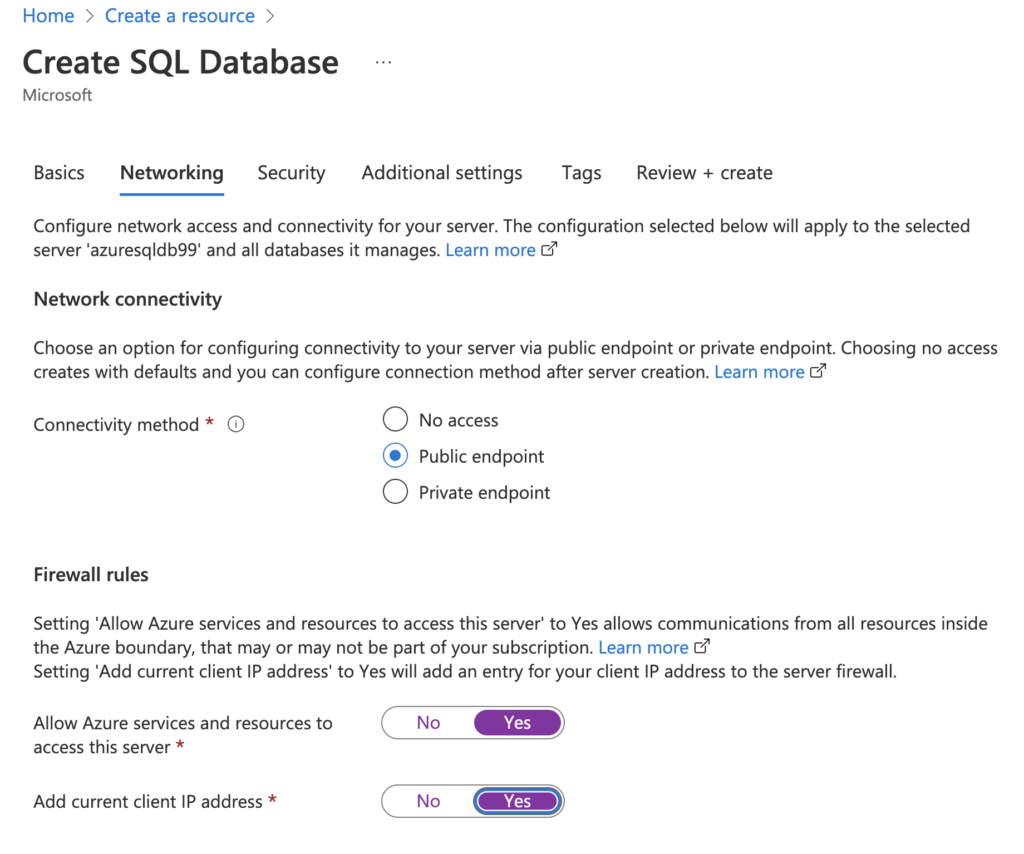
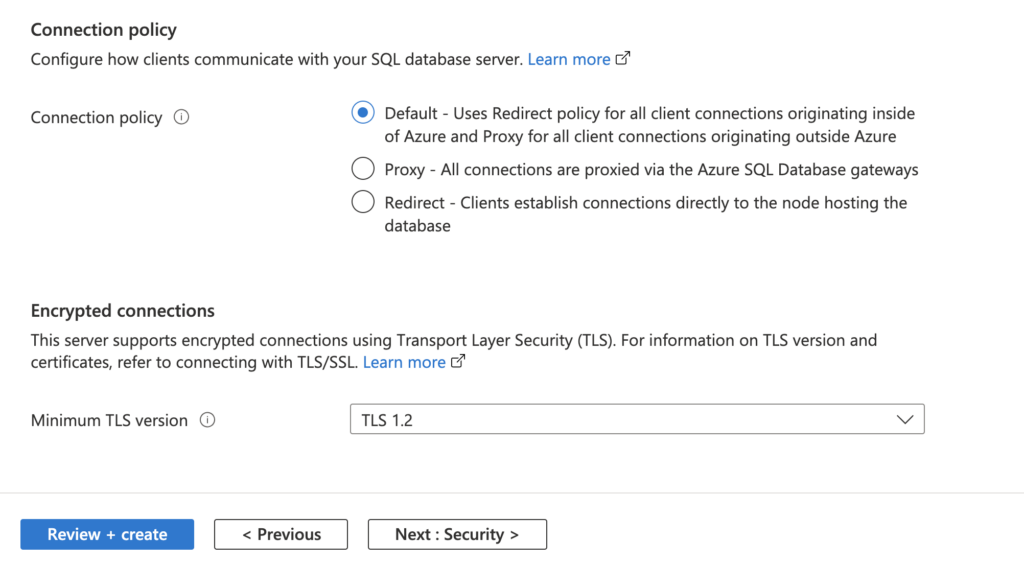
Once the above steps are completed, click on Next : Networking, and configure the following settings shown below.
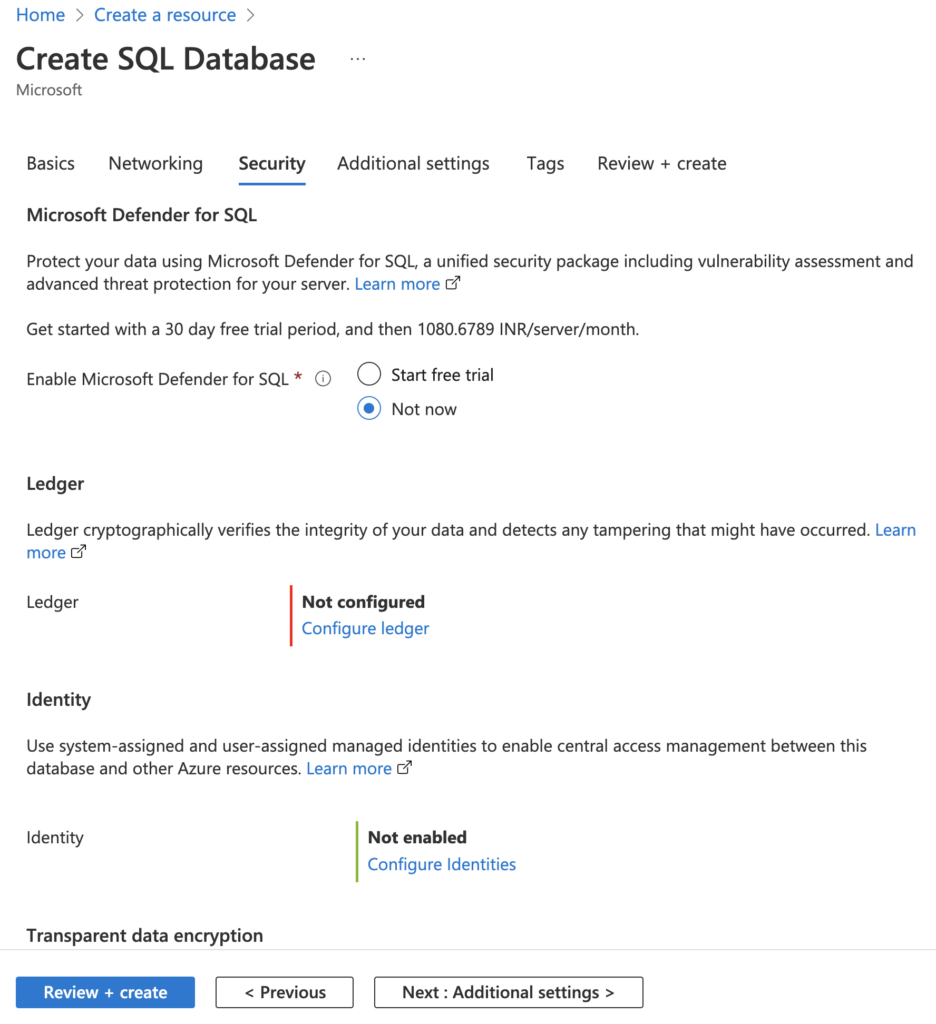
Click on Next : Security, and leave all other settings to default except Enable Azure Defender for SQL, for which you should choose Not now.
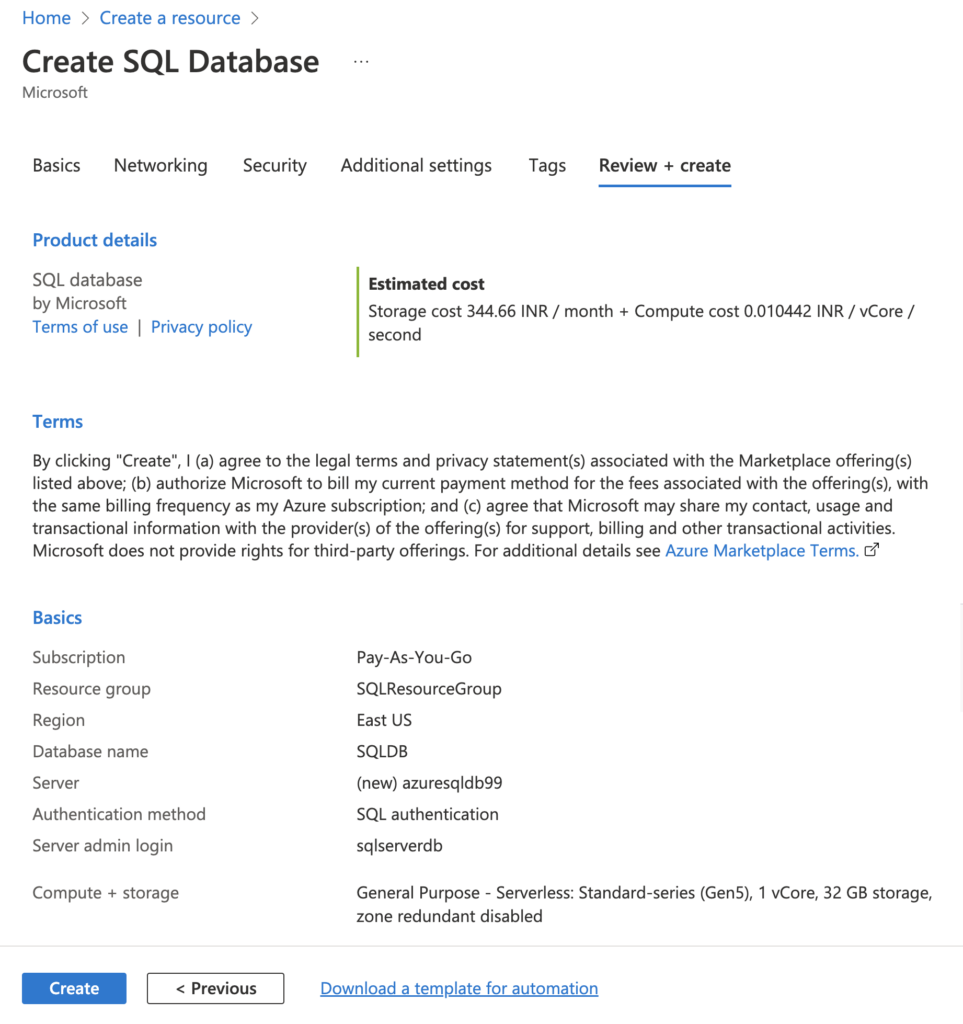
Keep the default settings for other tabs and move to Review + create. You can review your configurations and go back to edit as needed. You can also see the estimated cost per month in your currency.
Once you are satisfied with the above configurations, click the Create button to deploy your database. It can take a few minutes to complete the deployment. The deployment pane will show the status.

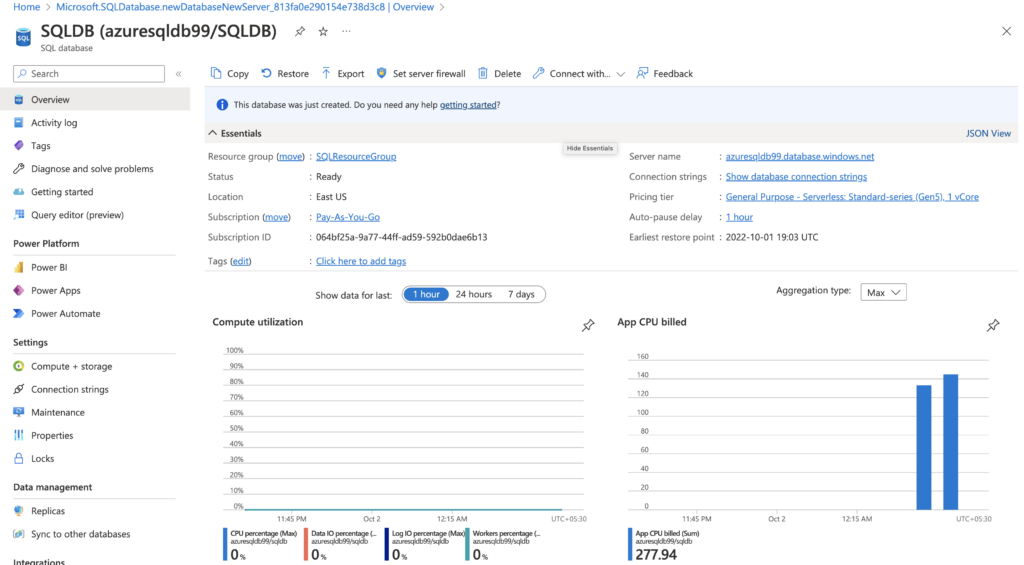
Click on Go to resource, which will open the following page, where you can view information about your database, such as its server name, status, and pricing tier.
Deleting the Resource
When you are finished with your Azure SQL Database resource, it's important to delete the resources to avoid unnecessary costs. This is easy to do. The first step is to go to the Azure portal, where you can look at a list of the resource groups.

Click on the SQL resource group you created, which will open the following page.
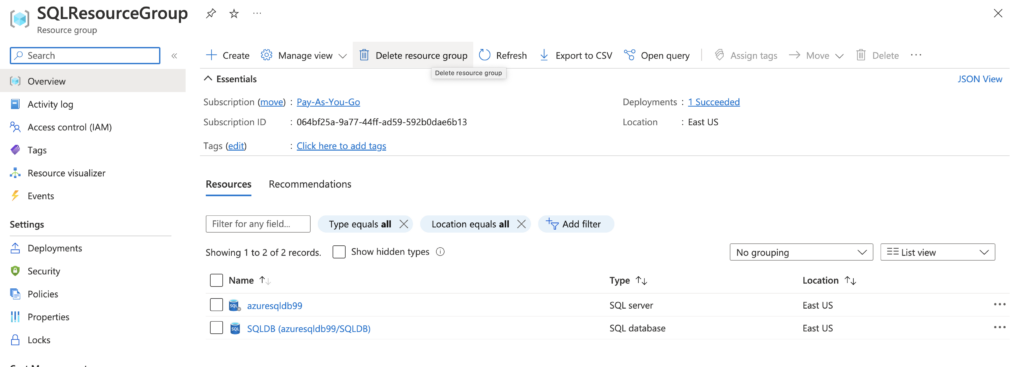
Click on the Delete resource group button at the top of the page. Finally, confirm the deletion by typing in the name of the resource group and clicking on the Delete button. Deleting your resource may take a few minutes.
Conclusion
Creating an Azure SQL Database is a simple process that only takes a few clicks. By following the steps above, you can have a new database up and running in no time. After your database has been deployed, you can manage it by navigating to the SQL databases blade in the Azure portal. From here, you can view information about your database and perform various actions on it.