How to Install MySQL on Windows: A Simple Guide
MySQL is one of the most popular database management systems (DBMS) available. It's light, open-source, and easy to install and use, which makes it a good choice for those starting to learn and work with relational databases.
Although it's a good option for beginners, MySQL is also robust enough to support larger production applications, with multi-users and multithreading support.
In this article, we'll cover the process of installing MySQL on your local Windows machine, from downloading to creating and using your first database. When you're done, you'll have a completely functional MySQL server running and ready to use locally.
Installation Process
Let's get straight to the point. Installing MySQL on Windows is a very easy but long process. In this article, we'll follow step-by-step how to do it using the MySQL installer, which is the recommended method by the database documentation.
First of all, you need to download the installer. Click here, choose the version compatible with your operating system (32-bit or 64-bit), and hit Download. Notice that you can also choose the web installer or offline installer. The last one is much heavier while the first will be faster to download.
When you try to start the download, the website will ask you to log in or create an account, but you don't have to do so. Note the No thanks, just start my download button.
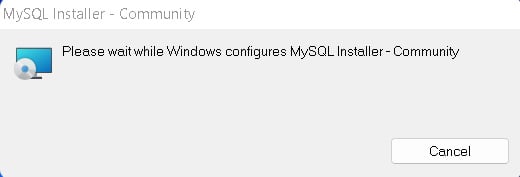
When you open the installer, it will first configure the installation and then ask for the user's permission to proceed:
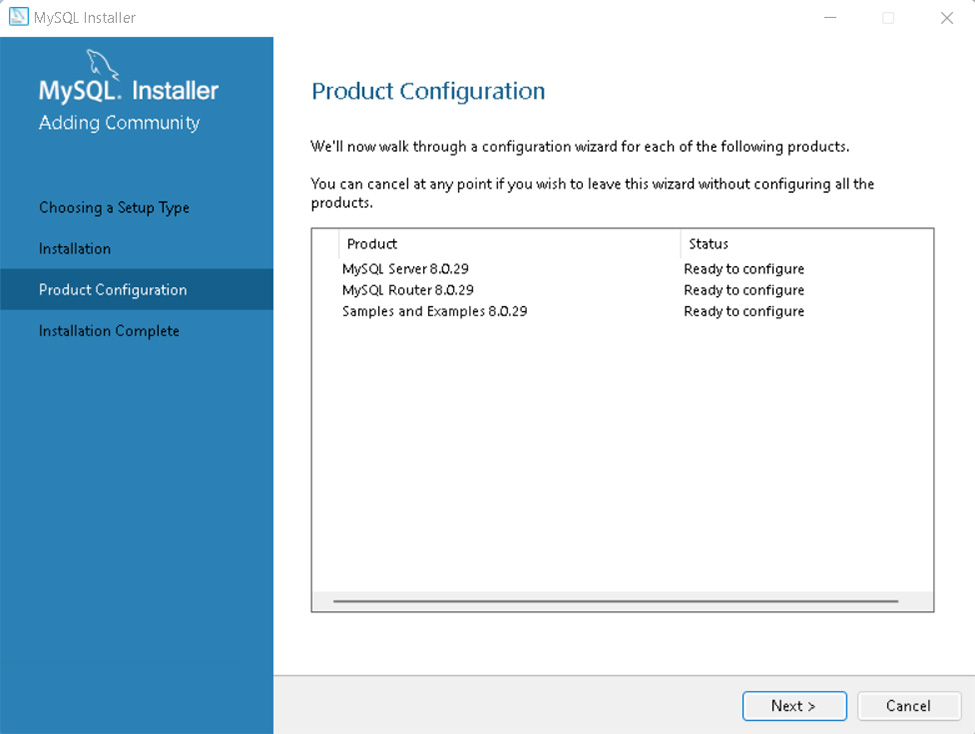
 When this is over, we'll finally see the installer interface. As you can see in the image below, the process consists of four steps:
- Choosing a setup type
- Downloading the files
- Installing the software
- Finishing the installation
 There are five types of setups available in this first step and you can check the side box to see what each of them will install. However, we strongly recommend, especially if you're just getting started with SQL, to select the default option.
The most important features, among others, this setup will install are:
- MySQL Server: the database server itself
- MySQL Workbench: an application to manage the server
- MySQL for Visual Studio: this feature enables the users to use MySQL from Visual Studio
- The documentation and tutorials
It's also ok to choose the full setup as this will install all MySQL resources available.
After you choose the setup option, click Next.
Requirements
At this point, there's a chance you'll be asked to install some required software, the most common being the Visual Code. The installer can automatically solve some requirement issues, however, this is not the case here:
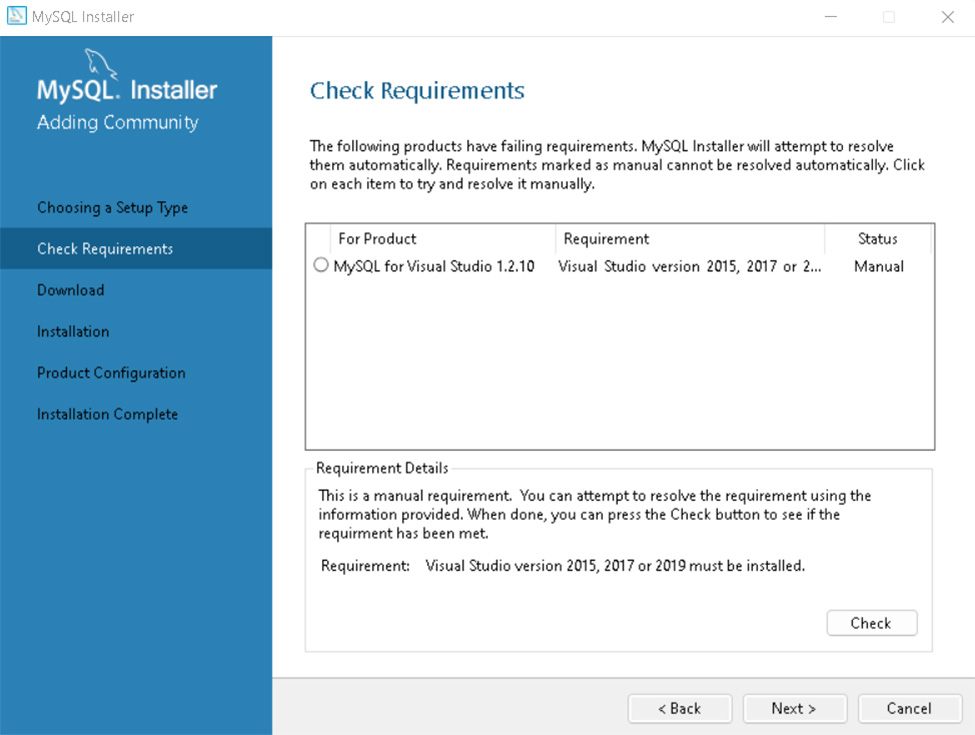 If you run into this, you can find one of the required versions of Visual Code here. This issue won't stop from proceeding with the installation, though.
Download & Install
You have now reached the download section. The section name is self-explanatory: you'll download all the components in the setup option you selected.
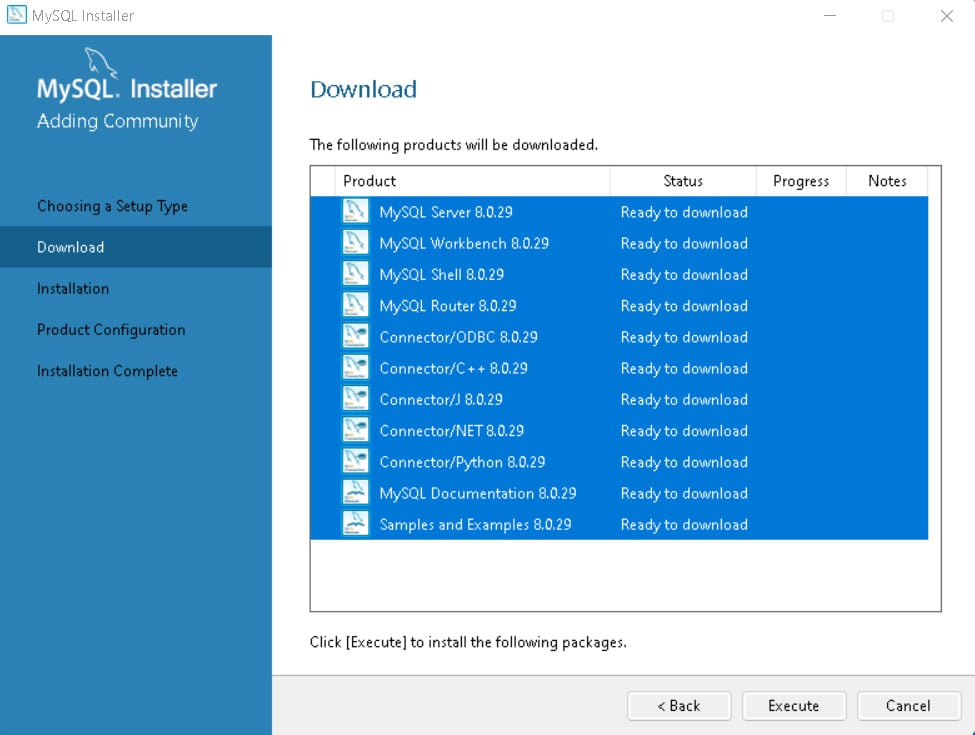 Click on
 Execute and the download will start. This might take a few minutes to be concluded.
When it's done, you should see tick marks on every item. Then you can proceed.
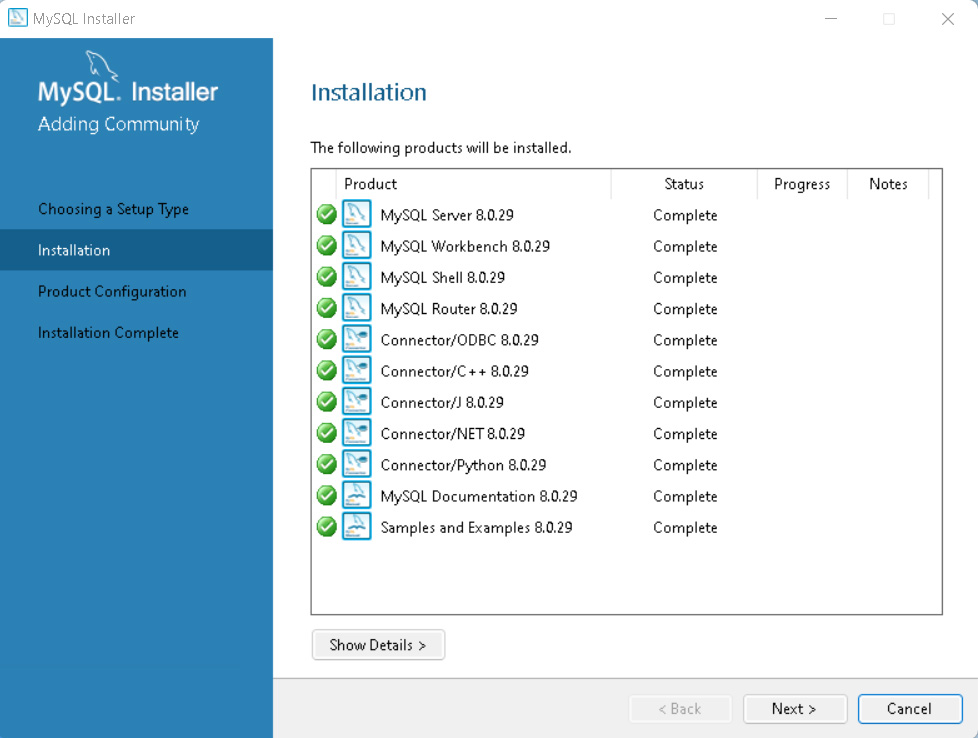
 The next screen you'll see is almost the same as the last one, but now it will install all the components you've just downloaded. This step will take significantly longer than the previous one.
When it's over, you'll see all the ticks marks again:
Configuration
The next step is to configure the server. You'll see the following screen. Hit Next.
 First, the installer will ask you to configure the network:
 It's important to keep Development Computer in the Config Type field as you're probably installing this on your personal computer and not on a dedicated machine. You can choose the port, but the default will work just fine. Click
 Next.
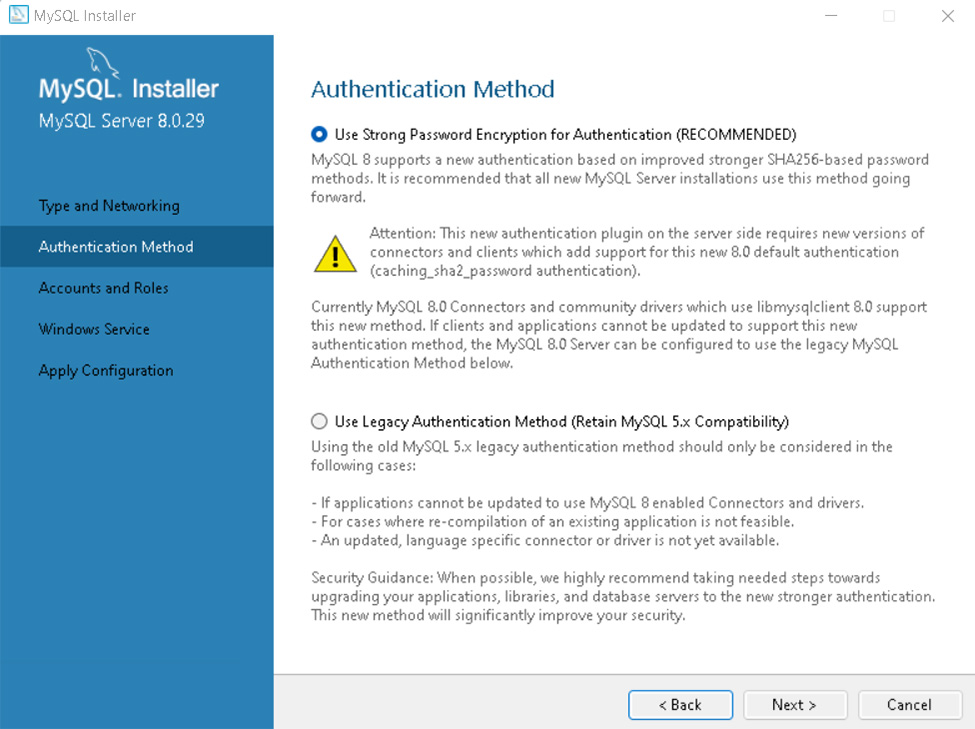
For the authentication method, let's stick with the recommended option and click Next:
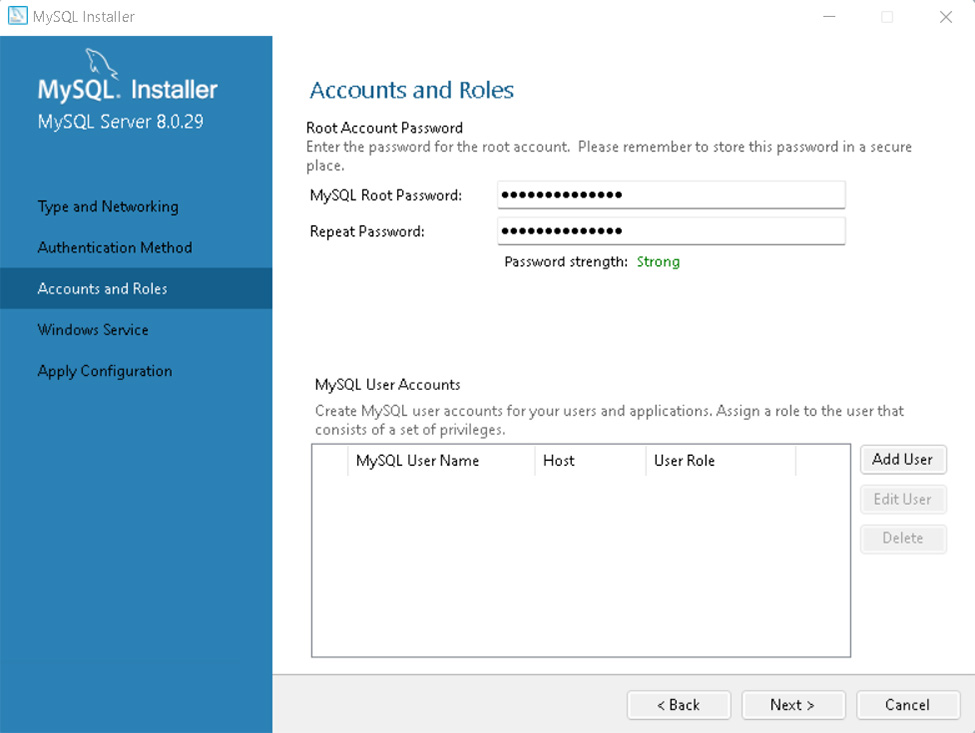
 Now it's time to create the root account. You'll be asked to set a password. Remember to use a strong one.
On this same screen, you can create other users and set their passwords and permissions. You just have to click on Add User and fill in the blanks. Then, click Next.
 Now you can choose the Windows service details, such as the service name, account type, and if you want to start MySQL when you turn on your computer. Again, the default options will work in most cases:
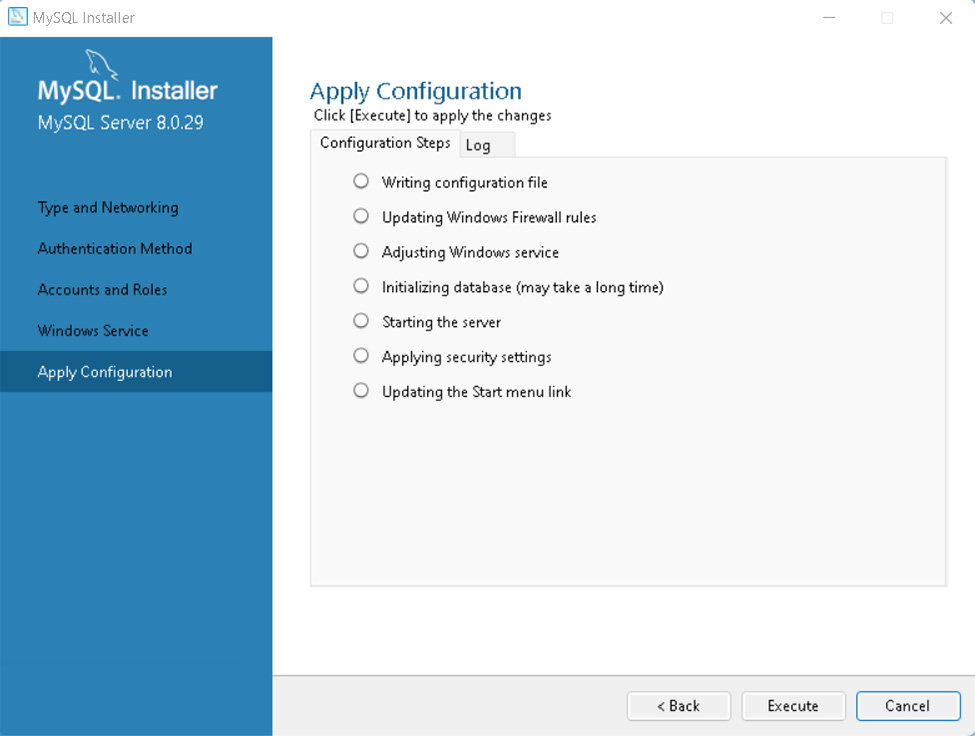
 The next screen applies the configuration. Execute it. This step also takes a while to be concluded.
 After it ends, just finish the process.

Final Steps
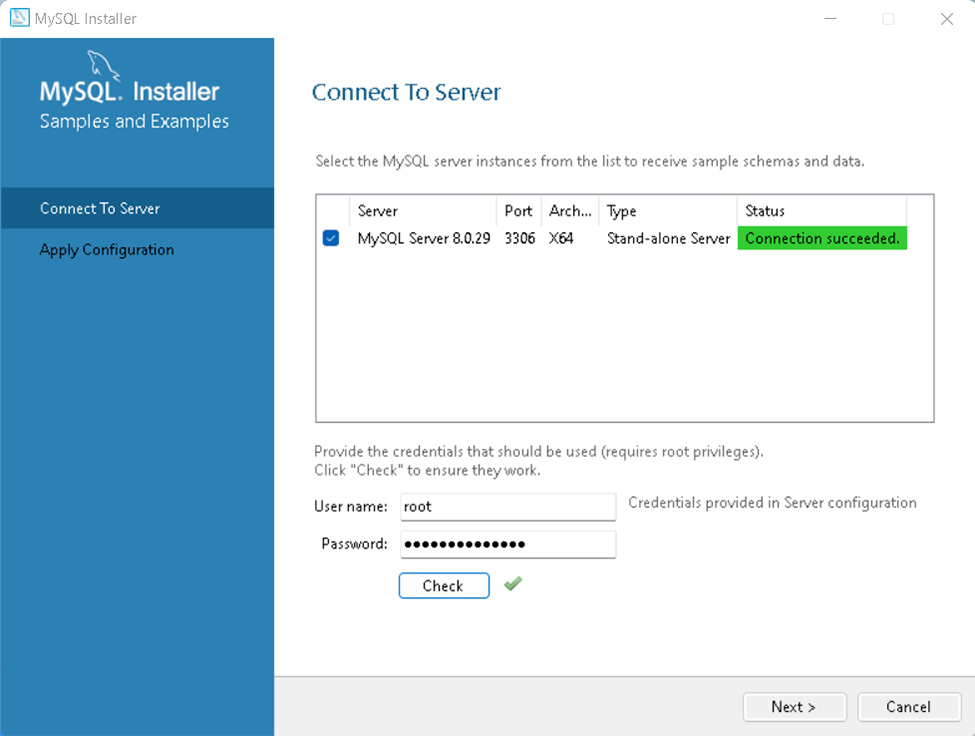
We're almost there! The next step is to connect to the server. Type the root account's password and click Check. You'll see the Connection succeed status:
 This screen is followed by another one asking to apply the configuration. Just execute it and click
 Finish.
We have finally reached the last screen.
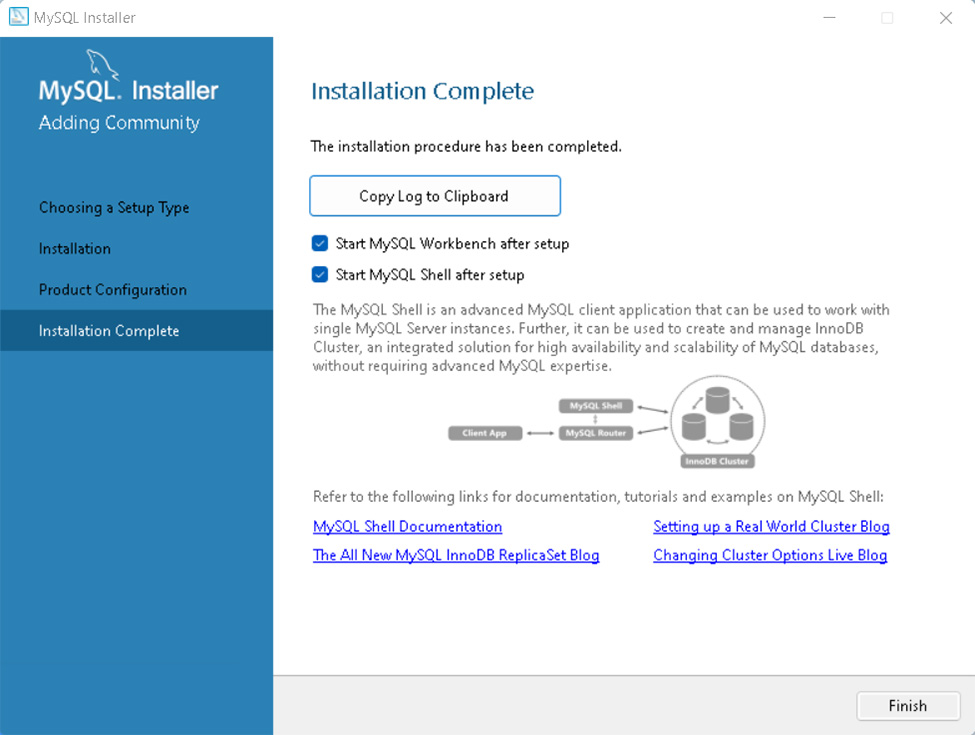 Here, you can choose whether or not to start the Workbench and Shell, and check on the documentation or other examples.
Creating your first Database using MySQL Workbench
If you chose to start the Workbench after finishing the installation, you'll see the following screen:
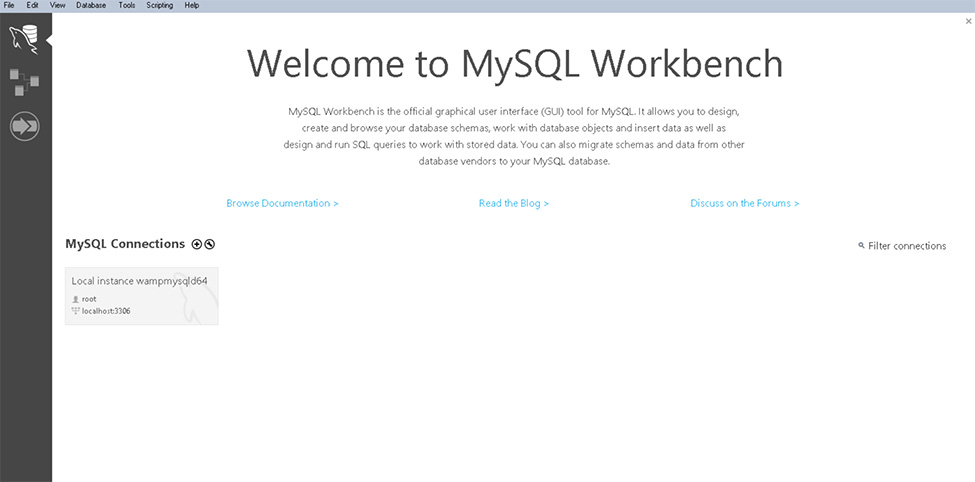 Choose the connection to the server you created and log into it.
This is your working space:
 Notice in the
 SCHEMAS window that you already have a few sample databases to play with. In the Information window, you can see the database you have selected. Of course, you have the main window to write SQL code.
Use this window to run the following command to create your first database:
CREATE DATABASE my_first_database
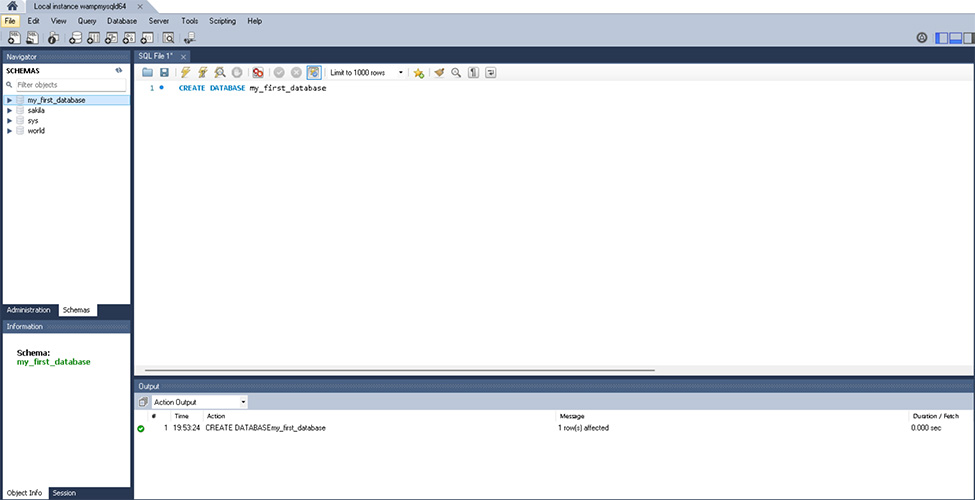 Use the lightning icon to run the command and then click the
 Refresh button in the SCHEMAS window. The new database should be there.
Note that there's a message in the Output window to show that the command was successfully executed.
You'll now have a fully functional database. You can start to create tables, insert data, and build your own applications.
Summary
MySQL can be a very helpful tool not only for those who are learning about relational databases and SQL but also for creating real-world, production-level applications.
In this article, we covered the following topics.
- Download the MySQL Windows installer
- Install and configure MySQL server and tools
- Create your first database using MySQL Workbench
